
When I saw Kat’s Hummingbirds Clover dress my “err, I like this pattern but not sure if it’s for me” changed to “Ok, I HAVE to make this…like right now!”

Later in the week we caught up in person and I actually got to try her dress on.
Kat cut a small and I squeezed into it no trouble and with a lot less excess fabric at the waist than I expected. So I pushed the pattern up my list and had a dig through my stash. Kat used a Rayon (you need a fabric with good drape) and I had a few options but nothing that was whispering “Clover” to me.
When I popped into Spotlight to buy contrast for the 0 Degrees Bleuet I saw that all the Rayon was discounted.
Good luck right?
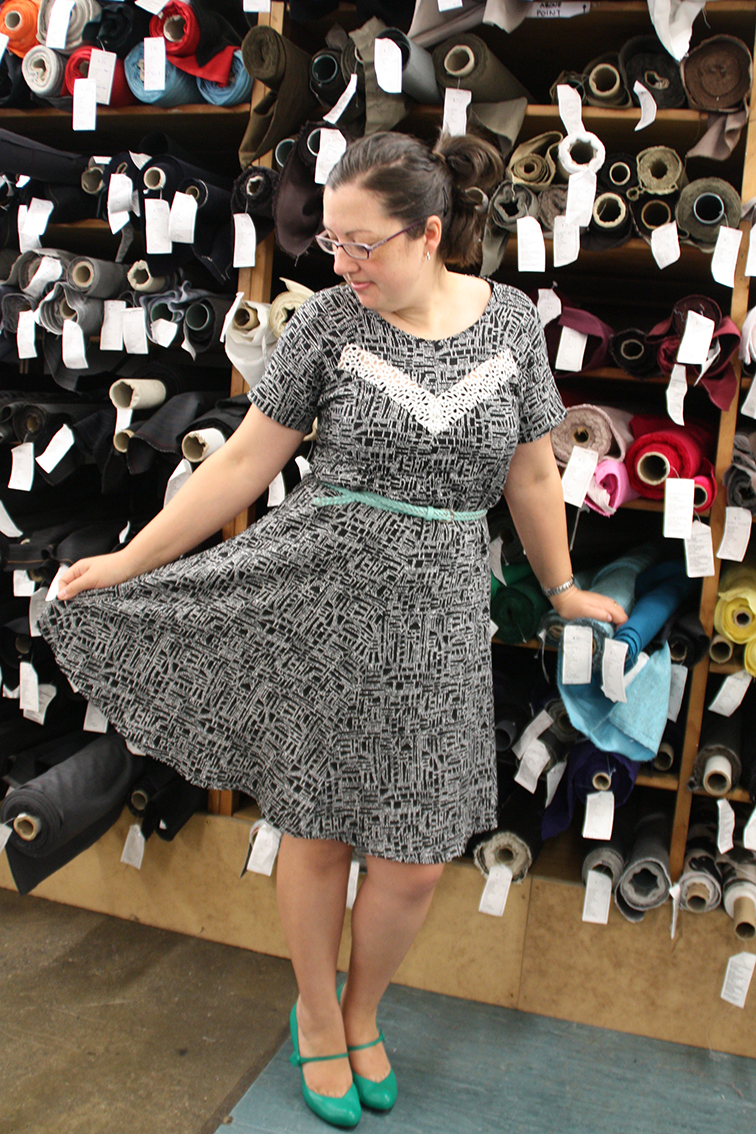
Absolutely! So I grabbed this black and white dot print for 30% off.

My lace is from a bag of scraps I bought a while ago from Alison Blane’s studio sale.
I’ll always remember going to that sale because it was only a few days after Wellington was rocked by a several strong earthquakes. Everyone was on edge and fabric shopping seemed like an excellent distraction but the old building she is located in scared me. The elevator was so ancient looking that climbing the stairs to level 3 seemed the safest option and I arrived out of breath but happy to see so much pretty fabric and lace.
I know that sounds totally crazy but it’s funny the things that stay with you right? I always think of that lunchtime shopping mission whenever I look through my bag of pretty lace.
Anyway, back to the dress…I added 20cms to the length and then cut it out during an epic mad “must cut out ALL THE THINGS” session one weekend when I discovered the joys of rotary cutting.
I used to cut out with my scissors and pins and because I find cutting out the most tedious of all sewing tasks I tend to do a big whack of it all in one go. I do love seeing the neat piles of cut projects ready to be sewn and then picking one up to start.
So this was the first time I’d cut out an entire garment with just my rotary cutter. I loved how easy it was and I ended up cutting out six projects all in one go and now you’ll never pry the rotary cutter out of my hands!
Later, when I grabbed the folded fabric to start sewing, I discovered that sometime during my epic cutting session I had managed to chop the point off the top of one of the front pieces.
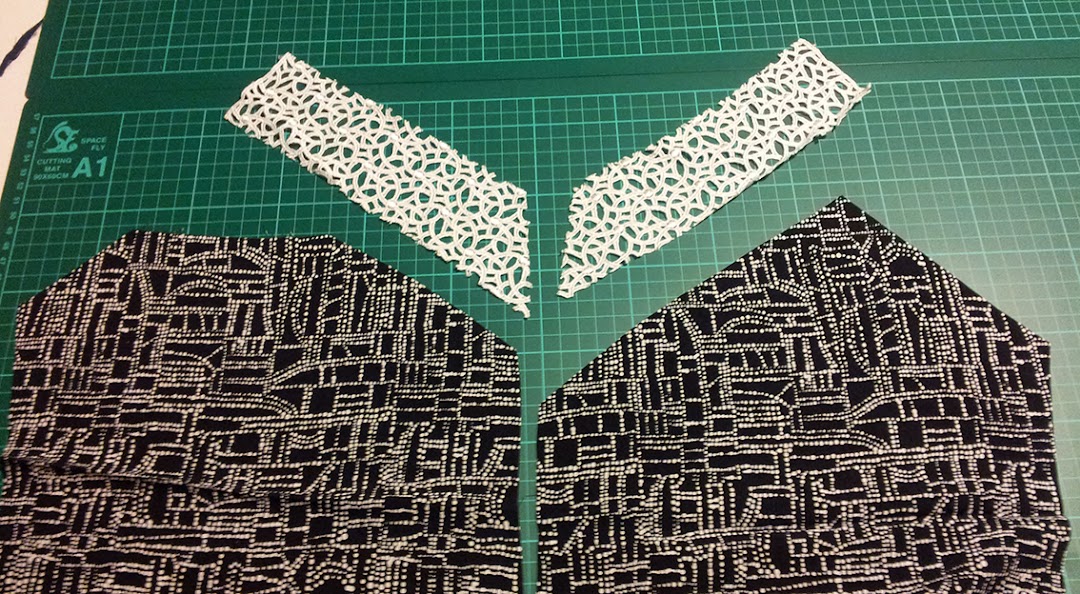
I really have no idea how it happened! Maybe the fabric was already cut from another piece and I didn’t see the overlap when I refolded or maybe I just cut it off in a moment of distraction. Anyway, I had no more fabric to re-cut it and no inclination to go out to get more so I ended up piecing it on from some of the scraps…
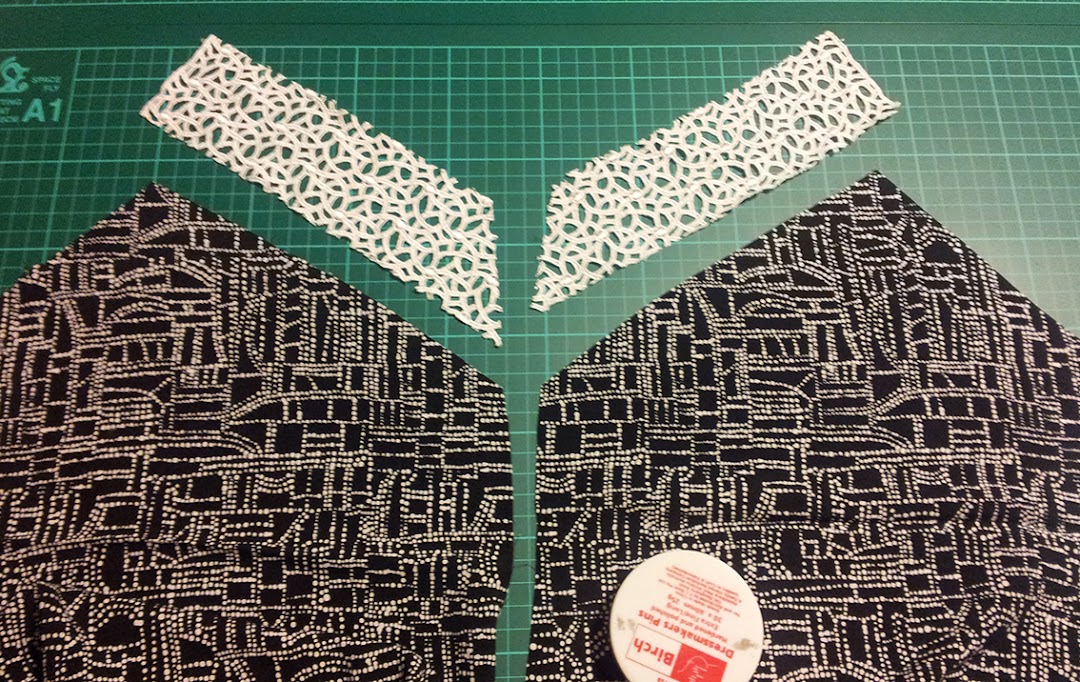
You totally can’t tell! 😉
After that minor mishap the rest of the dress sewed up no problems at all with typically excellent Papercut instructions and well drafted pieces that lined up perfectly.
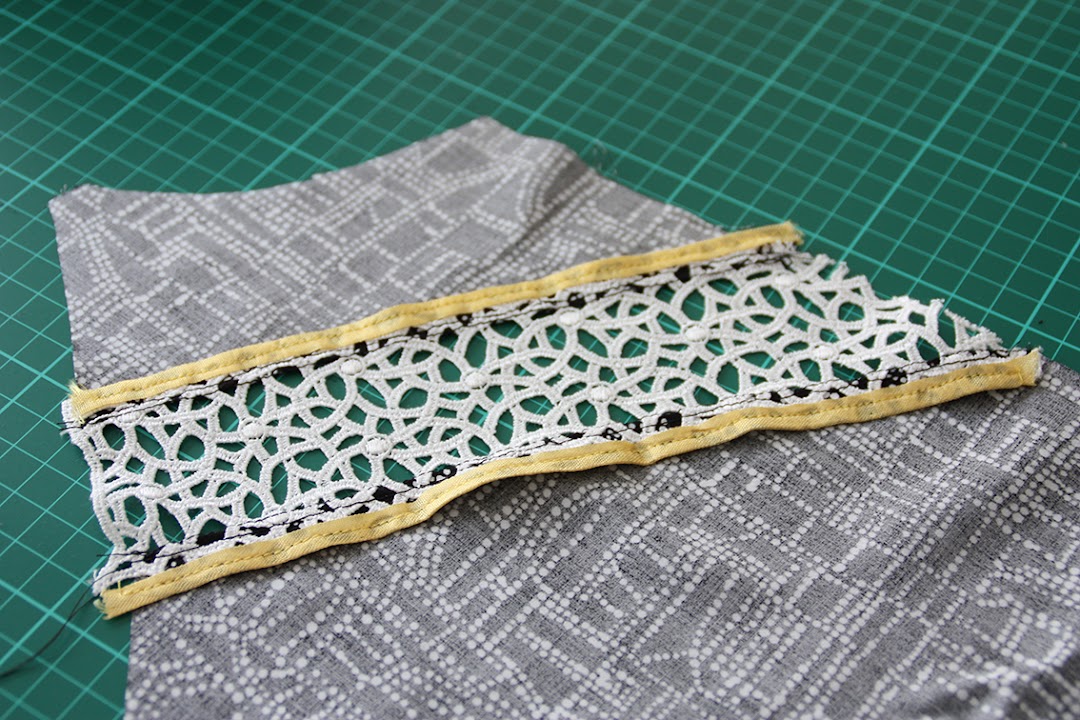
I copied Kat and used “Hug Snug” seam binding for my lace seams. It’s kind of like lightweight ribbon that you bind the raw seam edge with. It adds almost no extra bulk, feels silky smooth and adds a pretty pop of colour inside. You can also curve it with steam, just like bias.

My “Hug Snug” is the same colour as Kat’s because that’s where I got it 😉 She bought quite a lot of it and gave me a nice long length to try out.

After my dress was mostly finished I tried it on and was a bit disappointed by how it looked. I didn’t own any belts that suited it so I made myself hang it back up and reserved judgement until I went shopping.
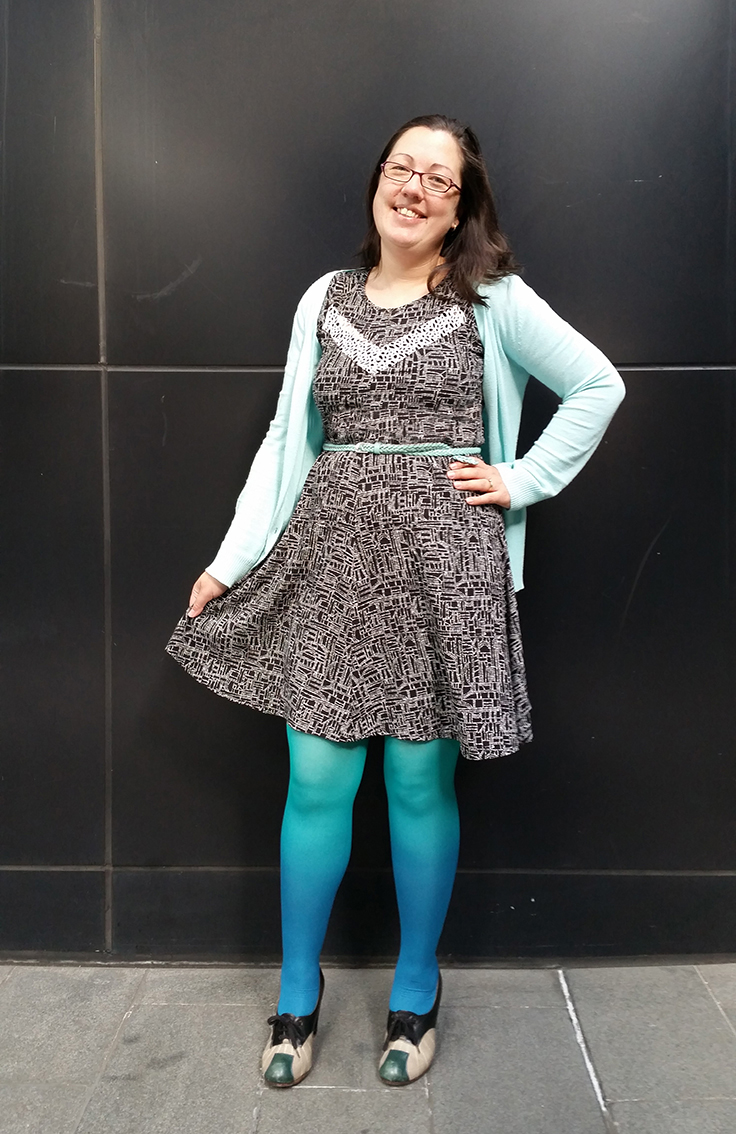
I’m happy to say that I felt much better wearing it with a belt but even more so after I chopped the bottom off.

If it’s too long this dress can easily turn frumpy so I chopped off most of the extra length I added in two steps, firstly aiming for knee length by cutting just below the knee.
When you remove a lot of extra fabric weight in a bias skirt the hem will often bounce up higher than expected. Once it was settled I cut a second smaller section off to my final length.

I haven’t been feeling particularly photogenic lately and so I’ve not really liked any photos of my new makes. However since I made poor Sandra take photos of me in the same dress on two separate occasions I decided I’d just get a little funky with the photos and get this blog draft finally posted!
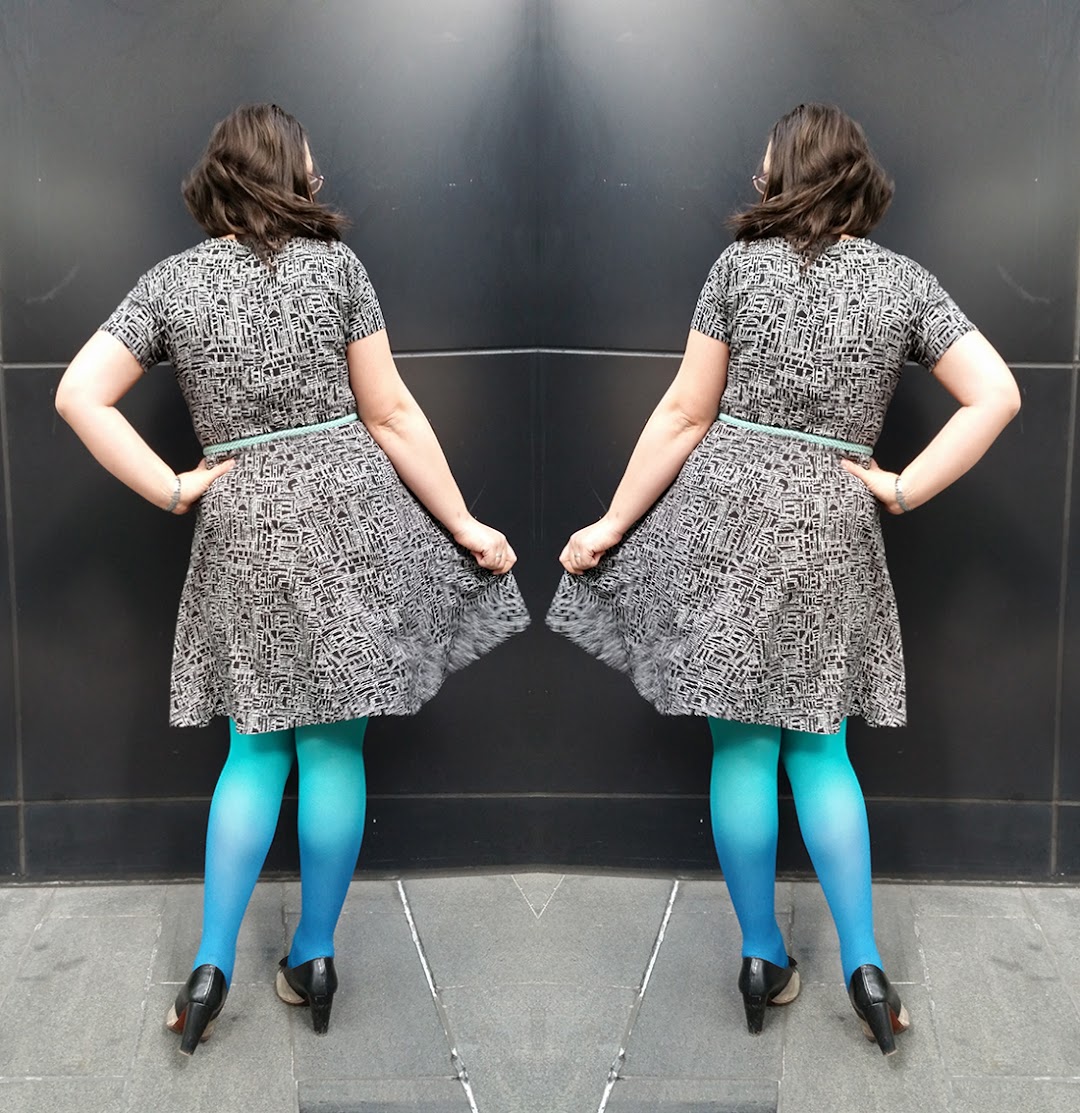
Here it is sans crazy legs for comparison:
THE DEETS:
Pattern – Papercut Clover Dress by Brooke Tyson, size S
Added 20cms to the length, then chopped most of it back off 😉
Fabrics – Rayon from Spotlight Porirua, lace off-cut from Alison Blane.


This is one of those patterns that don’t convince me based on the technical drawing, but seeing both your and Kat’s versions makes me start to change my mind… Really great fabric and pretty pretty lace! Oh, and I also adore your shoes, both pairs!
I love your dress, but your legs… girl.. really amazing!
I love this on you!!! So great! I really need to make a Clover… it’s just so cute!
Ohh yes you do! 🙂 You will look incredible in it!
Oh my gosh, both your version and her version are super cute!!!
*Sigh* and of course this, along with Kat’s version, has me thinking “maybe this pattern WOULD look good on me”. Maybe I can hold off until the next sale….
It looks lovely! It’s taken a while for me to come round to the Clover but now it’s on my to do list!
Pingback: Watskeburt vol. 2 | Maak Het Met Rachel
Pingback: A Four-leaf Clover in Rayon | The Monthly Stitch
Gorgeous!! It makes me want the clover now too
May I ask where you got your large cutting mats from? And a ballpark cost? I’m looking to purchase but locally the seem to pricey and nowhere near as big as yours! Thanks 🙂
I got them from a local big stationary shop called Warehouse Stationary – they were NZD$40 each. I was happy with that price because I have seen them for much more…and online is cheaper but the postage to NZ kills me.
I love your new dress!! It is so gorgeous on you. Now I really want this pattern.
I love this dress! And those tights! So awesome. It looks really great on you and fits so well with the belt. :)The fabric is gorgeous. 🙂
Ooh I have some of that rayon in my stash ready to be made into the Muse Melissa blouse (that’s a bit of a strange coincidence, don’t you think?). The dress looks great, and I love those green shoes!
Hehe, funny, that pattern has a great name 😉
Oh my gosh I LOVE IT!!! Ahhhh I must get me that pattern and some rayon pronto!
this is so pretty. i haven’t loved this pattern up til now but your version is lovely! and hug snug is the best!
Yay I’m so glad your Clover dress has grown on you! I really like it on you. 🙂 (It took me a while to get used to my one too – just too used to fitted waists I think, haha! So comfy though, I really must make another one sometime…)