
The spectacular World of WearableArt (aka WOW) started in Nelson in 1987 and moved to Wellington in 2005. The 2 hour long show features music, dance, and wearable art from New Zealand and all over the world. It’s something I’ve always longed to go to but I’ve never actually made it for various reasons. So when I was invited along to a VIP table for the awards night of course I said, “YES!”
Can you see it?


The perfect excuse to make a ridiculous dress and enter the Sewing Indie Month Dressed to the Nines competition.
THE CONCEPT:
Now WOW is all about the WOW so a simple pretty dress just won’t cut it. There needs to be an extra level of, well, WOW!
I though hard about what I could make, I didn’t want to put a heap of effort into a dress I could never wear again and I only had 2 weeks!
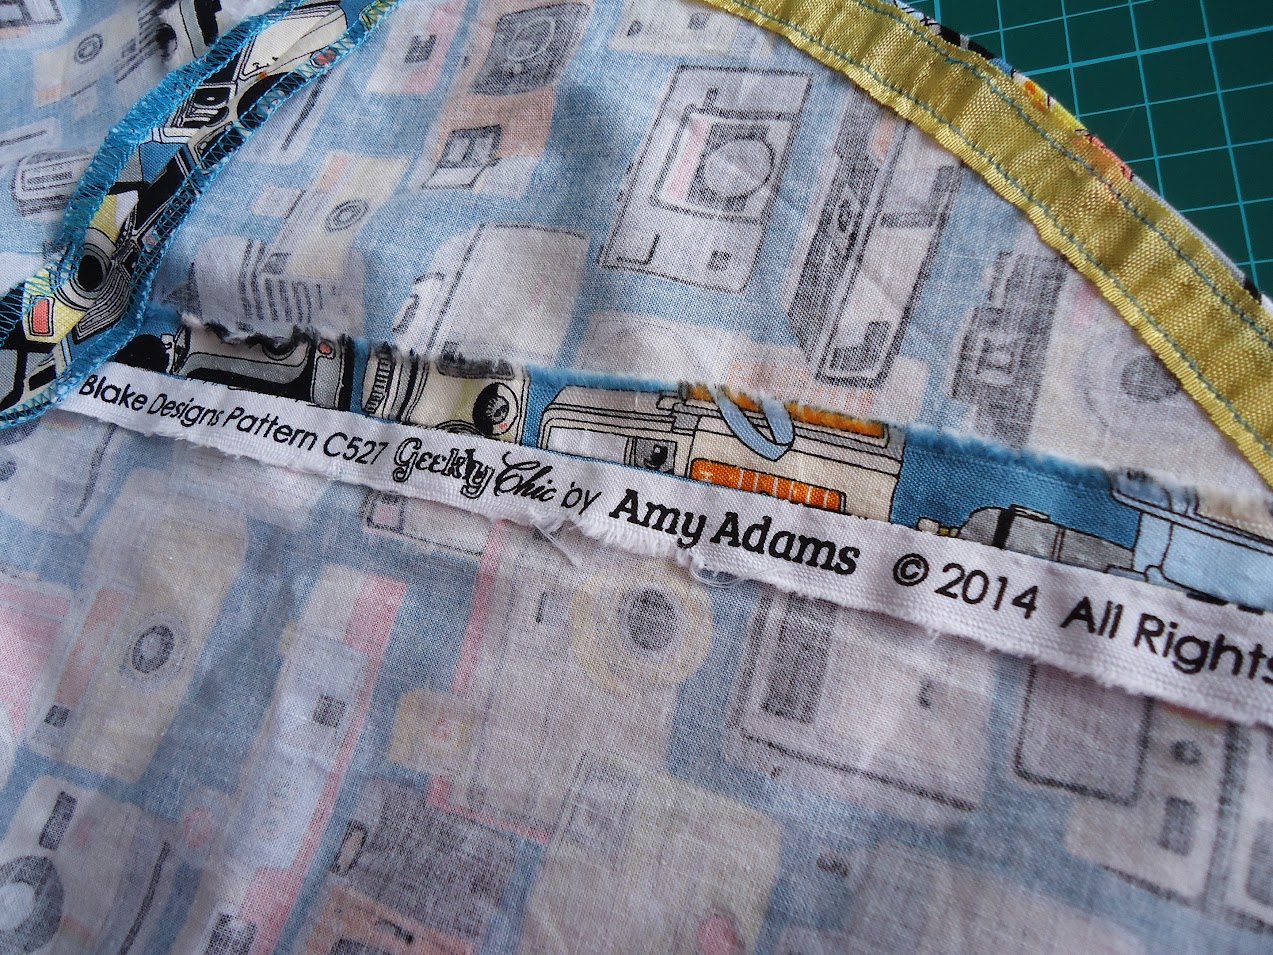
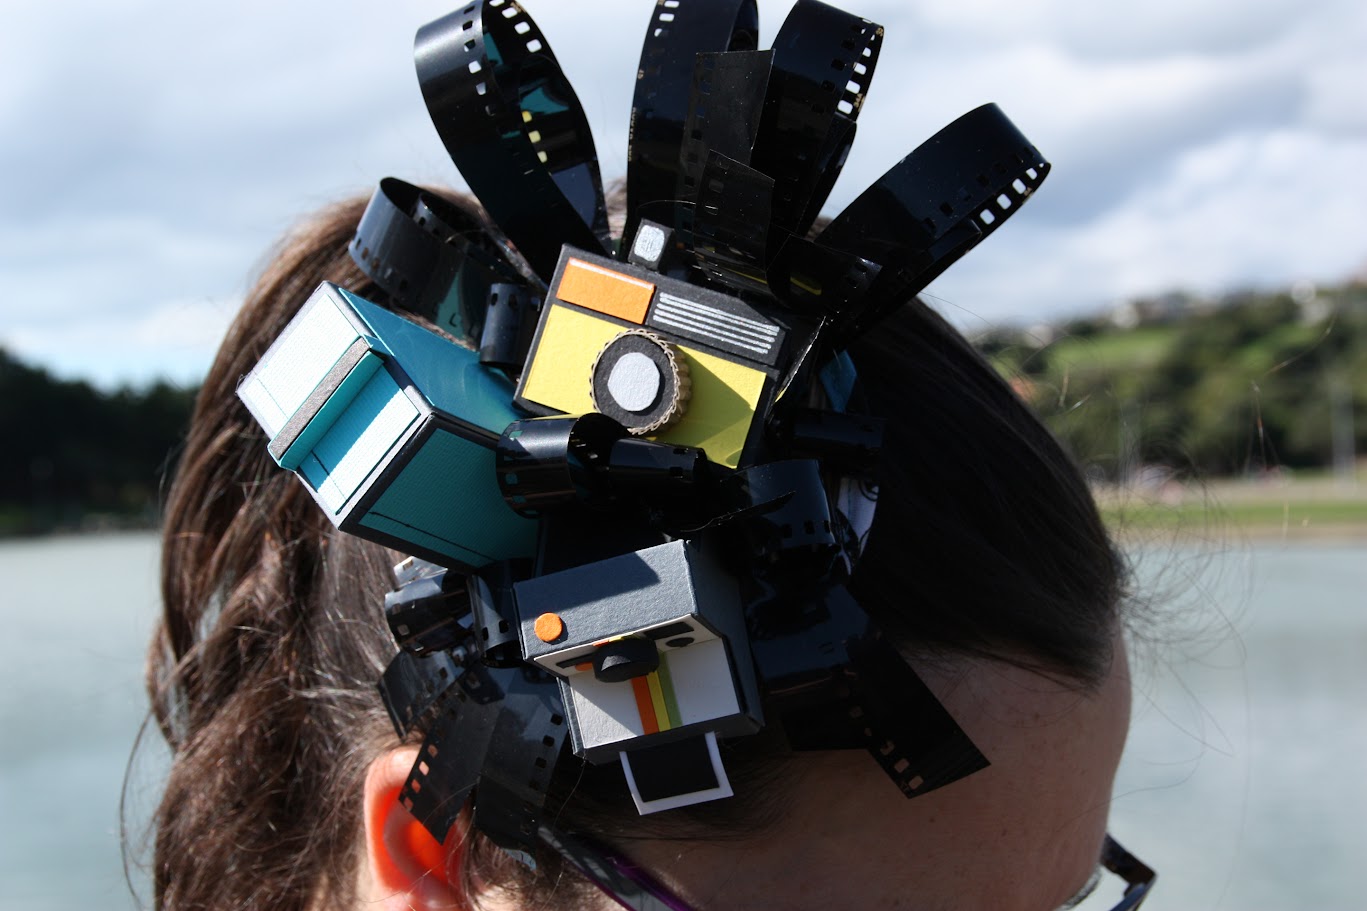
While I was hunting through patterns and fabric stash I picked up the Sew Over It Betty dress pattern that was sitting in my sewing queue. I had already paired it with the retrotastic Riley Blake Geekly Chic Cameras. I realised it would be perfect as a start – cameras and fashion and all that – and I decided the extra WOW could be achieved with some sort of fascinator…perhaps with little cameras all over it to match the dress.
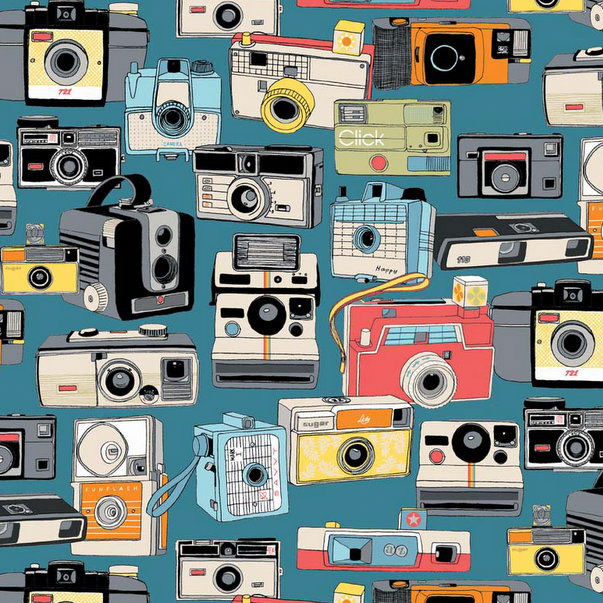
I don’t a have a link to the fabric because apparently this is all sold out…everywhere 😦
THE PATTERN:
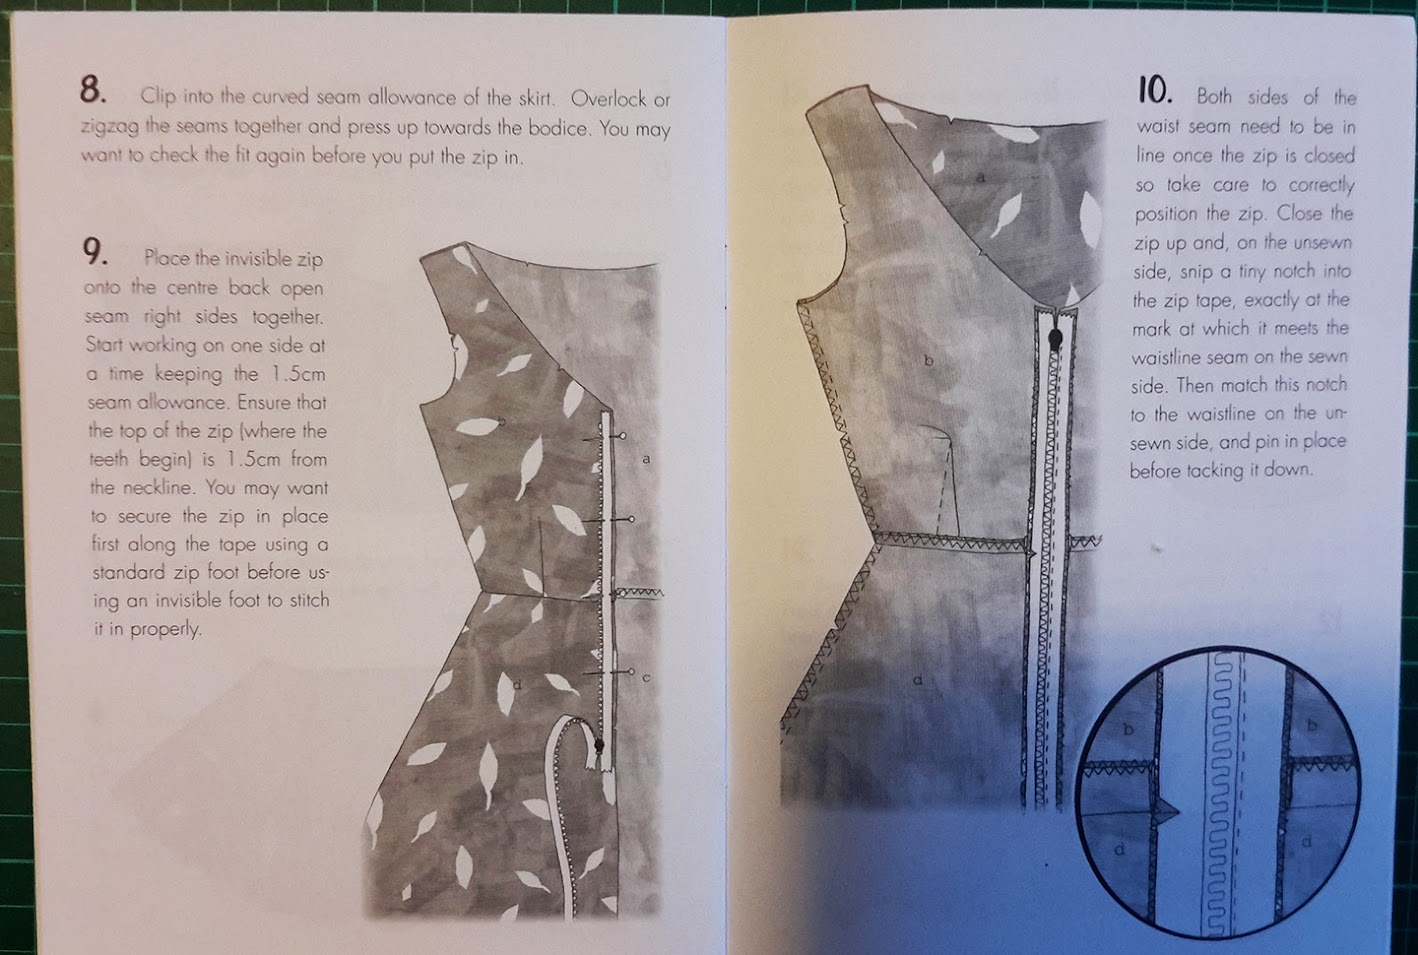
I started with the dress first – this was my first Sew Over It pattern and I really love the instruction illustrations. They have a sweet hand-drawn look but are really clear. I especially like the use of pattern and shading to show the different sides of the fabric.
After I traced the pattern I reduced the fullness of the skirt, checking it against my Colette Hawthorn pattern piece as a guide. I folded the extra fullness out of the center then corrected the waist line, flat pattern measuring to check it still matched the bodice.
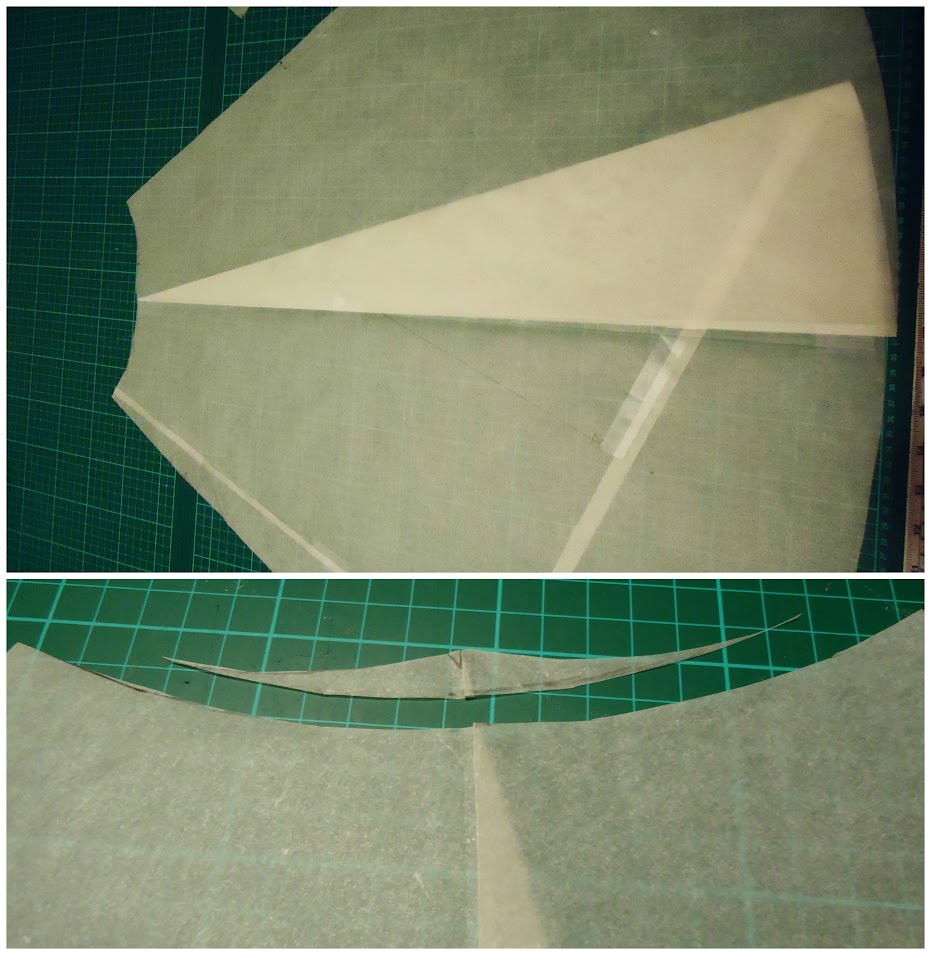
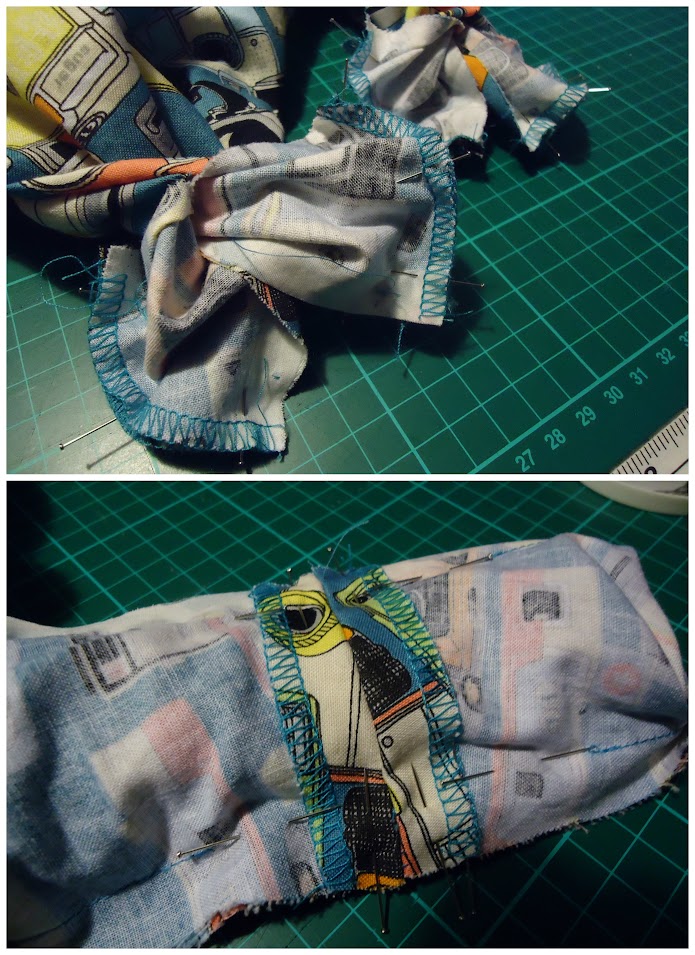
This was another dress requiring a corner piecing job on the skirt due to the narrow quilting cotton width so more fun selvedges hidden inside 😉
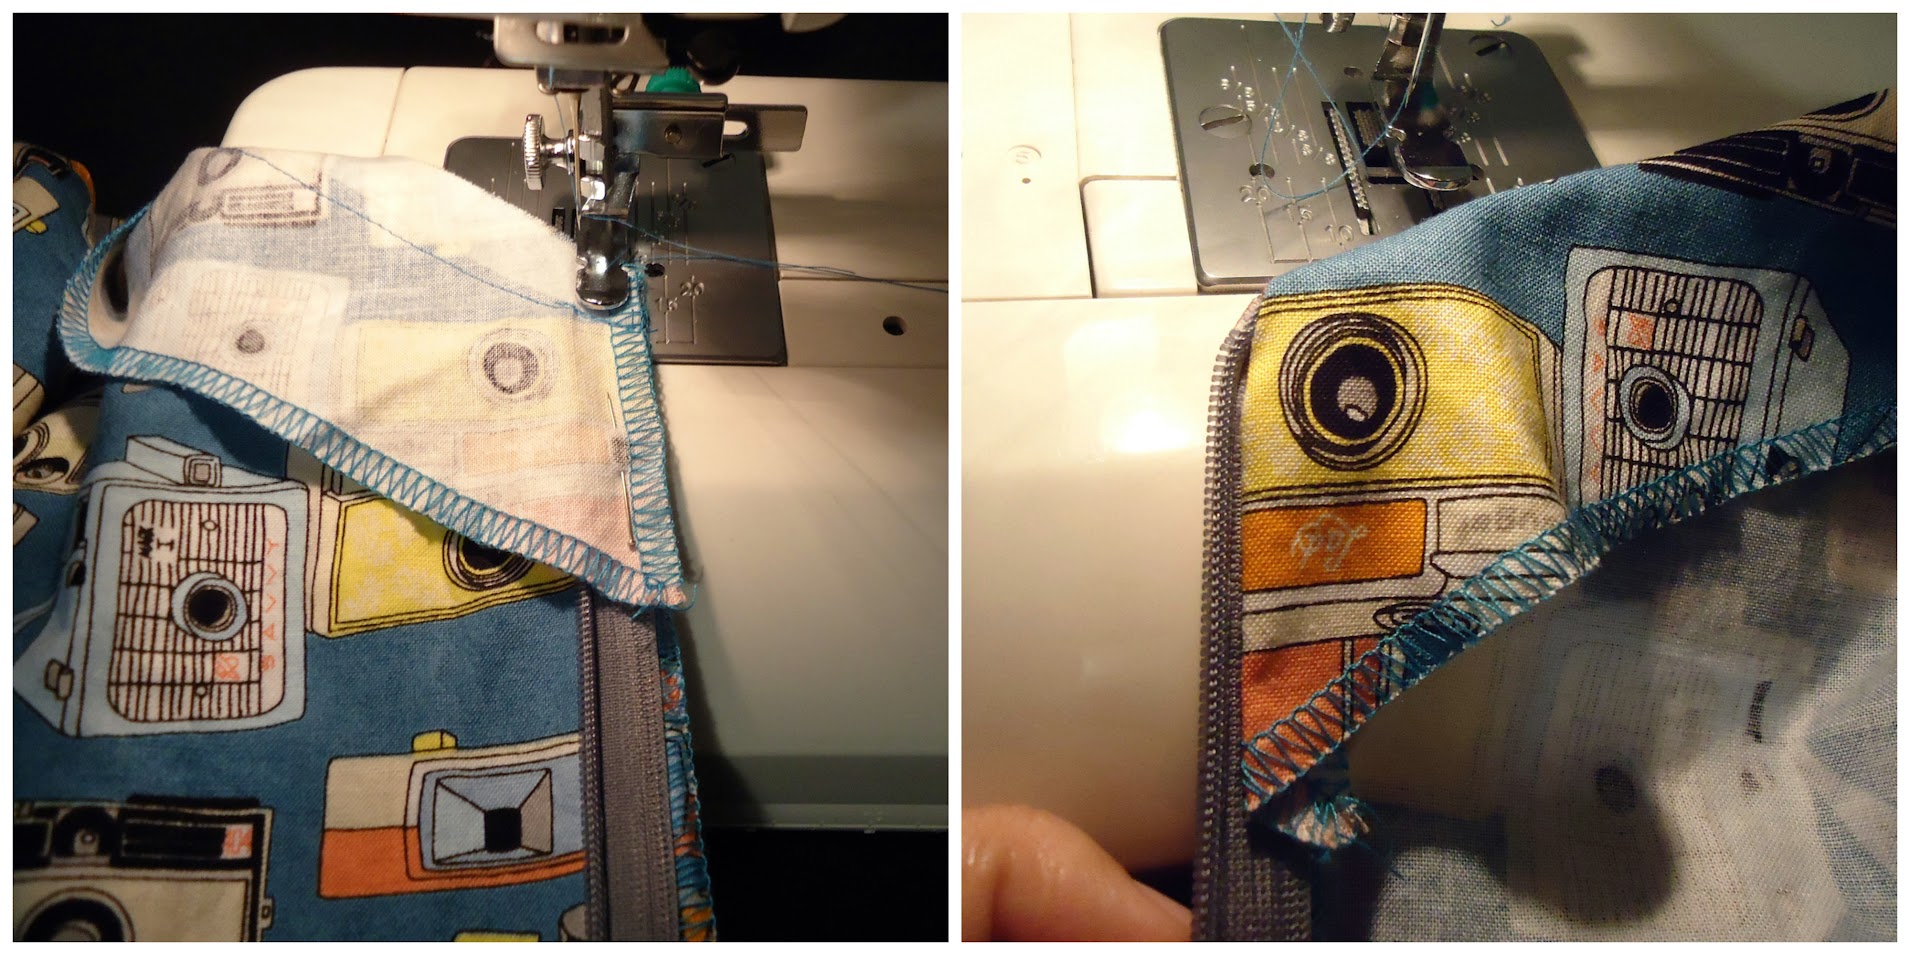
Betty is a pretty simple pattern, a 4 dart bodice with a full circle skirt, neck/armhole facings and CB invisible zipper so the instructions don’t need a lot of extra detail. I followed along, only changing the order of a few steps.
I used my new favourite sewing notion, fusible stay tape, on the front and back neck opening. This stuff is seriously great! I have 4 rolls all half inch, a black and white in knit and a black and white in woven. It’s perfect for stabilising the fabric edge before inserting zippers too, you should go buy some.
I assembled the front and back of the dress first, then I stitched the side seams so I could adjust the fit later. The facing went on last and I like the clean finish on the armholes/shoulders.
It stitched up really quickly and the only other change I made was to machine sew the facing along the zipper to avoid hand sewing.
I almost always do this, for a stronger finish and, honestly, to avoid hand sewing. I’m not sure why so many patterns insist on hand sewing the facings down. My hand stitched facings always come undone eventually. Perhaps in this case is it a nod the vintage inspiration of this pattern.
I under-stitched the facing but I still found it liked to flip out at the bottom of the armhole. This was solved by pinning it in place and sewing a short line of stitching in the ditch of the side seam. I think next time I will fully line the bodice.
Next, hemming!
A week before the show and my dress almost finished I decided I would need more floof and went on the hunt for a petticoat. Long story short, I bought the “Value Swing Petticoat” from Let’s Jive in light blue because the price was right, I liked all the colour options and they are located just up the island so promised I would receive it in 1 day by courier. It did arrive as quickly as promised and while it’s not the softest most luxurious petticoat the floof-per-$ factor is impressive…photos later in this post…
The petticoat is a little bit long for my liking but it’s easy to roll up at the waist. I pinned the dress hem where I thought it looked right while I was wearing it. This turned out to be 17cms from the bottom of the skirt and I marked this all the way around, changing to 15cms at the back to allow extra length over my bottom.
After I pressed this up I trimmed off some excess and tired it on again discovering that it was a bit too short…ok, a lot too short! I’d only left about 4.5cms to play with so I re-trimmed the hem neatly at what was now 12.5cm/10.5cm from the bottom of the skirt and to maintain as much of that length as possible I had the brilliant idea to use bias on the hem…then I spotted the rest of the Hug Snug Seam Binding that Kat gave me. I told her at the time she’d given me way too much but I’m not complaining now, let’s just say it saved the day!
(Remind me that I owe you a Bohemian hot chocolate as thanks Kat!)
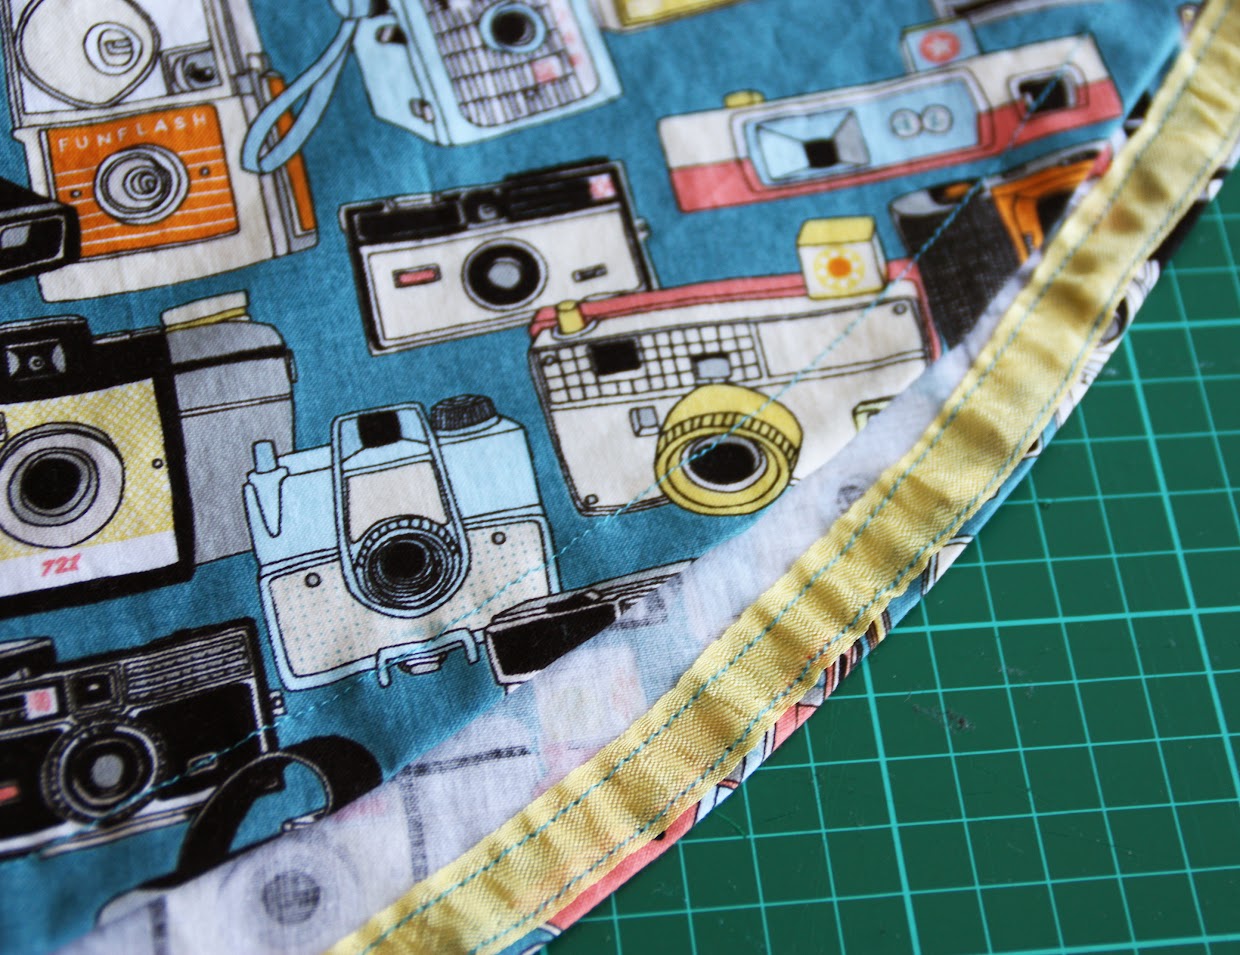
I stitched this on as close to the edge as I dared, pressed up and stitched the hem. Hug snug is perfect because it’s so light weight and the woven edge won’t unravel. I also get a sneaky bit of yellow hidden inside, it totally matches. I need to buy more, all the colours!
OK this post is long enough now and I haven’t even show you the final photos. I’ll write about making the fascinator in a separate post (here!).
PHOTOS:


These photos were taken at Aotea Lagoon where there are lots of great photos spots.
Getting in the car was super fun. I’ve never worn anything remotely and poofy as this so I was unprepared for a face full of skirt when I sat down. NH was well entertained.
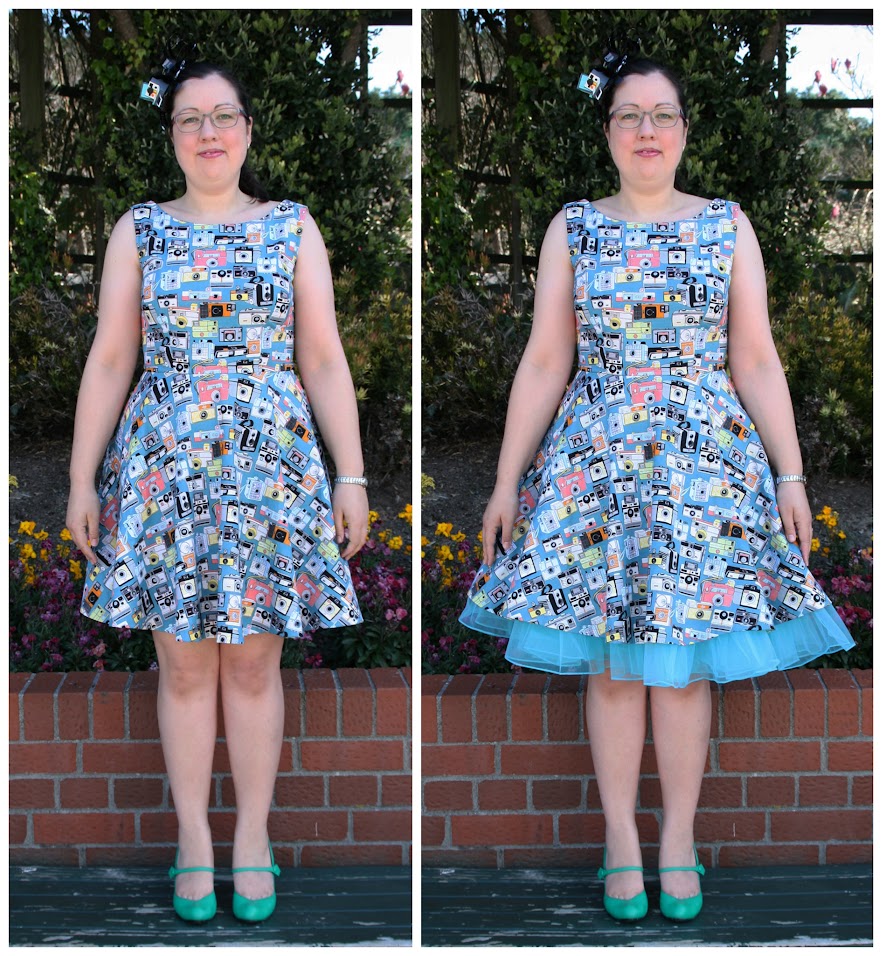
Here is a before and after floof shot:


The whole time I was working on this dress and the fascinator I was really excited. About going to WOW but also about dressing up. Who doesn’t love dress ups?! I’m pretty sold now that the 1950s is my favourite dress ups era.
Despite my excitement I was a little nervous that I was overdoing things. After I arrived at the bar I noticed everyone else was definitely dressed fancy-pants with lots of sparkles and slinky fabrics but there was nothing else remotely costumey. This didn’t ease my nerves until a random group of ladies called me over to tell me how much they loved my dress. I felt much better then and went to join my VIP group. I didn’t know anyone else that was invited but I got a lots of compliments so I settled in for a fun night.
Just before we headed off to the show they announced the prizes and I won Best Dressed! It was awesome, plus the prize was shoe vouchers! SHOE VOUCHERS!
I got more compliments before we went in to the show and I also met this awesome chicky called Michelle who was dressed 1950s as well. We got a quick selfie at the end of the night – isn’t her hair amazing?! Michelle’s dress is from Amazengarb in Paraparaumu.
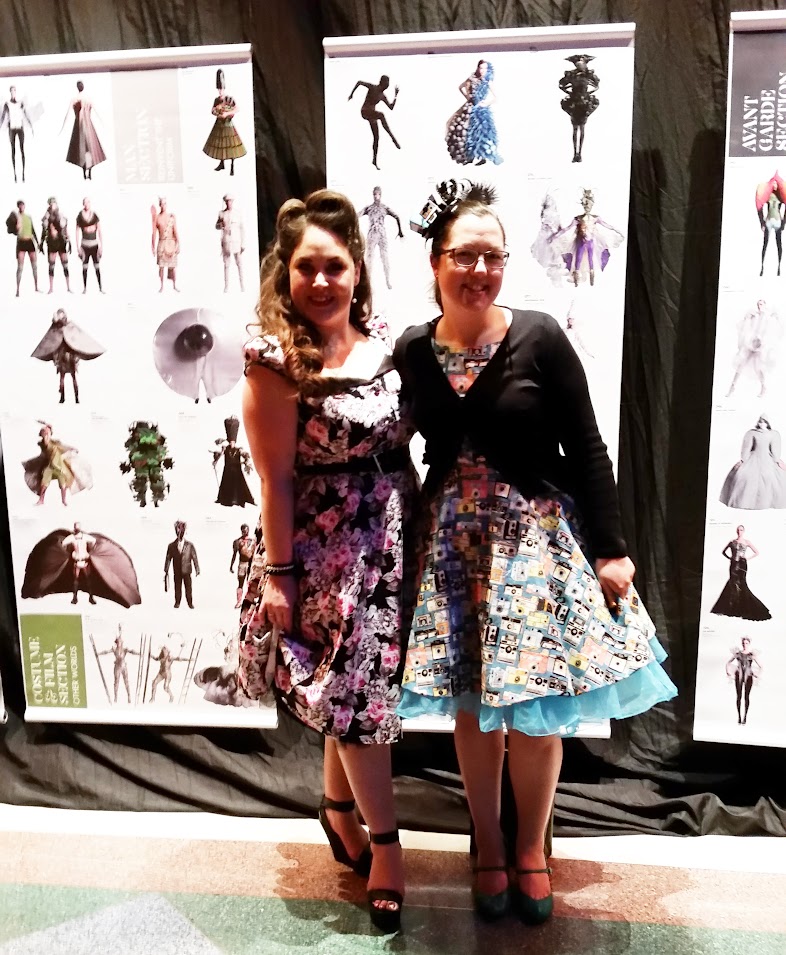
We look fabulous!
WOW:
Obviously WOW was AMAZING! The music and dancing were both incredible and of course all the entries! We weren’t allowed to take photos or video but you can see some of them behind us in the photo above and there are some great shots on the WOW Facebook page here. The volcano projection on the tent for the Aotearoa Section was my favourite part (the drums rattled my chest the model dance routines were perfect). My favourite entries were Neptune’s Bride in the Open Section and Celcus in the Other Worlds Section.
I was completely exhausted at the end of the night from trying to take everything in!
THE DEETS:
Pattern – Sew Over It Betty dress, size 14.
Removed fullness from the skirt to match Colette Hawthorne.
Next time I will lengthen the bodice approx. 2cm and fully line to the waist. I also need to add some bra strap keepers!
Fabrics – Riley Blake Geekly Chic Returns (Geekly Chic 2) Cameras in Blue by Amy Adams, Hawthrone Threads, USD$27.00/m, purchased 04 August 2014.

Pingback: Merry Grinchmas, have some Christmas cats… | the curious kiwi
I love this dress and it looks wonderful on you!!!! This dress of yours is my Monthly Stitch ‘inspired’ project. Please let me know if you object to me using one of your pics in my post. I’m afraid my version isn’t nearly as cool as yours, but it was a fun make nonetheless. 🙂
Hi Erika – I”m excited to have inspired you and I am happy for you to use some photos from my post with a link back somewhere in your text to this post 🙂
Pingback: Petits Gateaux Frock & Mary Berry Jacket | Colette's sewing & stuff
Your work is amazing !
You can never over-do it like you mentioned earlier, not when it comes to WOW. Keep up the good work and you definately have my vote.
Georgie
Good for you for going all out (although it definitely also looks wearable for everyday without the petticoat) and congratulations on winning the SHOE VOUCHERS!!!
perfect level of floof and i love the twirling gif at the bottom. We need to get dressed up and go out in our floofy skirts one night. I wore big petticoat to WOW as well and got many looks when i walked in
You’re so on!
Great job on your dress! Love the fabric and your fascinator! Good luck!
Absolutely fun! I stumbled across your post while looking at the entries for the “Dressed to the Nines” category (okay so I didn’t really stumble) and I have to say, you are definitely getting my vote for your creative use not only of pattern and fabric, but for overall appearance. I appreciate any feedback on my own submission in the Pattern Hacking category (I’m entry #8)- thanks and once again, great job!
I love that you did all this to go to WOW! The poof and facinator just make it all complete for a special occasion but worn without will fit nicely into your everyday wardrobe. You are too cleaver!
Pingback: Paparazzi Fascinator | the curious kiwi
I have just discovered your blog today! I love this dress, the print and shape are perfect on you. I also love that you are in NZ, I read so many overseas sewing blogs.
I just have one question, what are bra strap keepers and where would I find them?
Hi Maria 🙂 The bra keepers or strap keepers stop your bra straps from showing by temporarily connecting them to the shoulders of your dress. The ones I’ve made/used in the past are usually a short length of ribbon. One end is sewn to the underside of the dress strap at the shoulder. The free end has a small snap attached to it and the opposite side of the snap is attached to the underside of the dress strap. You put on the dress, and then loop that ribbon under your bra strap then click the snap together. Here are a couple of images, here andhere 🙂
It’s great to have you reading, there are more Kiwi blogs listed here. 🙂
What a wonderful dress for an equally wonderful night! Prize well deserved. Oh, and the fascinator is really special too.
Love it. It looks great with that blue underskirt too! A well deserved win!
Love your dress, the sky blue petticoat, and the fab fascinator! Perfect for WOW. (Now I may have to try fusible stay tape…)
Fusible stay tape is so great…since you are in Welly too you should come meet the other WSBNers. I’ll sweeten the deal with some stay tape for you to try 😉
Everything about this is perfection! And a well deserved congratulations on the win too 🙂
Congratulations!! That’s quite the achievement
Love, love love that dress! The hat and the shoes are just icing on the cake! Well done :-)) Brenda in Texas
Thanks Brenda xx ❤
Sounds like such a fun event. Fabulous frock, I love the fascinator and I want a petticoat! Well done on winning best dressed and great prize ;o)
I wish I could wear the petticoat all the time, it’s so swirly and fun! 🙂 You should buy one, adult dress ups are the best 🙂
The dress looks awesome both with and without the poofy-ness, and the fascinator is fabulous too! I love the dress pattern and it’s definitely going on my to make list now I’ve seen your version 🙂
Thanks Bec! 🙂 You should definitely bump this pattern up the list, it’s great, then add poofyness 😉