The Great WSBN Sewing Room Tour – My turn!

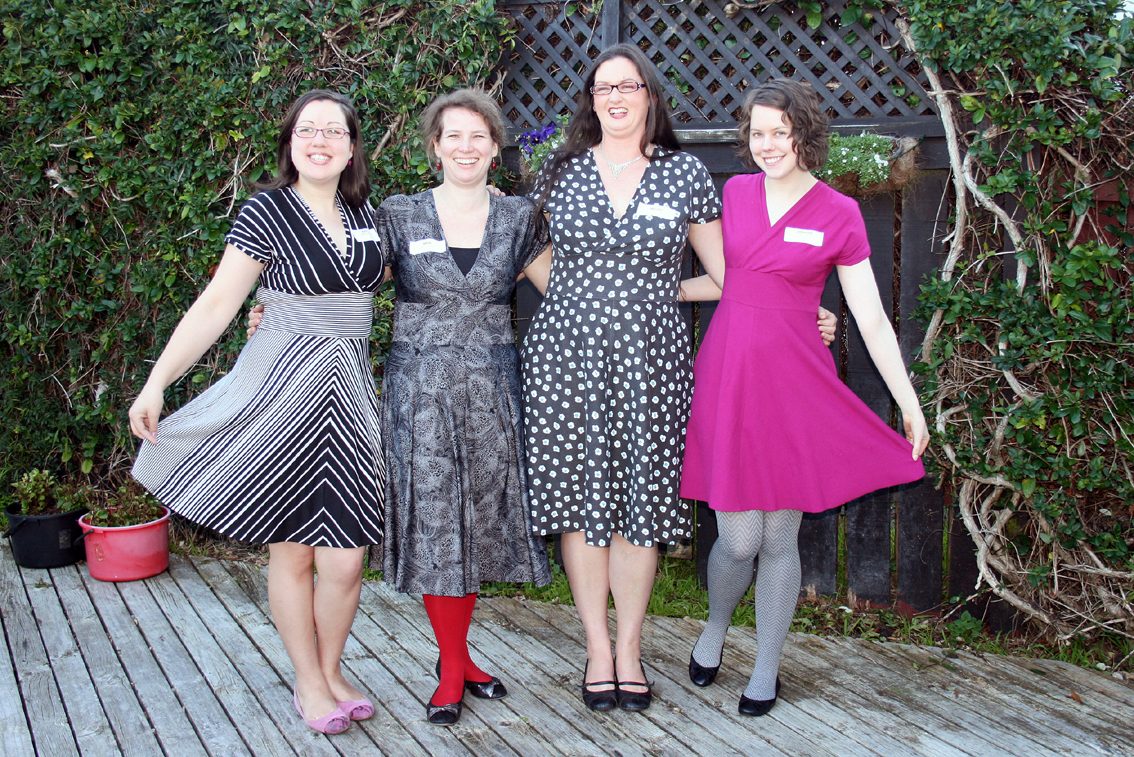
The WSBN are always in scheming mode and this month’s Plan comes to us courtesy of Gemma of Sixty Six Stitches who announced via our usual communication channel (aka Facebook…or should that be SewingBook?) that September was Sewing Room Tour Month and promptly gave us each a date and hit the “go” button.

Gemma kicked us off followed by Laura, Sophie-Lee, Nikki, Juliet, Sandra JKat, Holly, MaryLouise, Nina and Sandra M.

Today is my turn! 😉

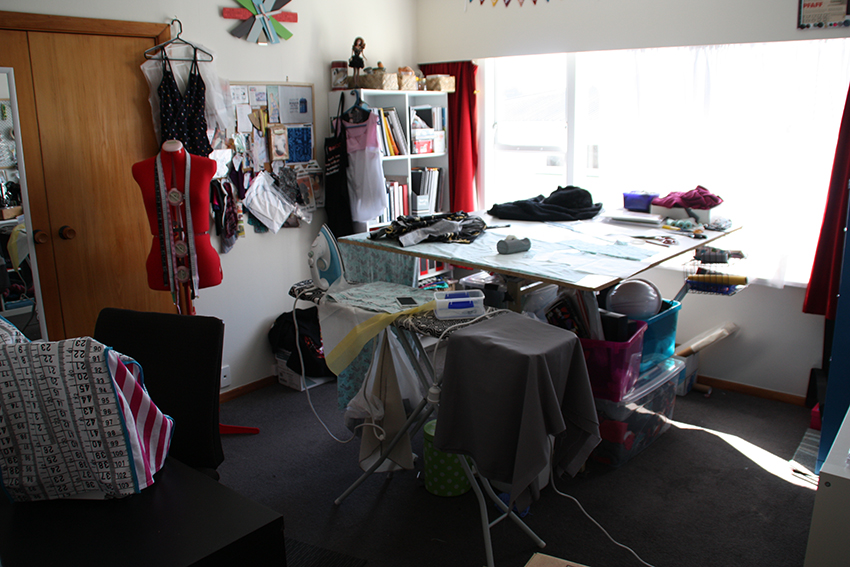
I am lucky to have my own room dedicate to sewing. It has a big window facing north so I get great light during the day, room for a big layout table and a double door wardrobe for hiding all my mess! It’s a bit crazy in there right now, the result of sudden sew-jo return – must sew ALL OF THE THINGS ALL OF THE TIME!

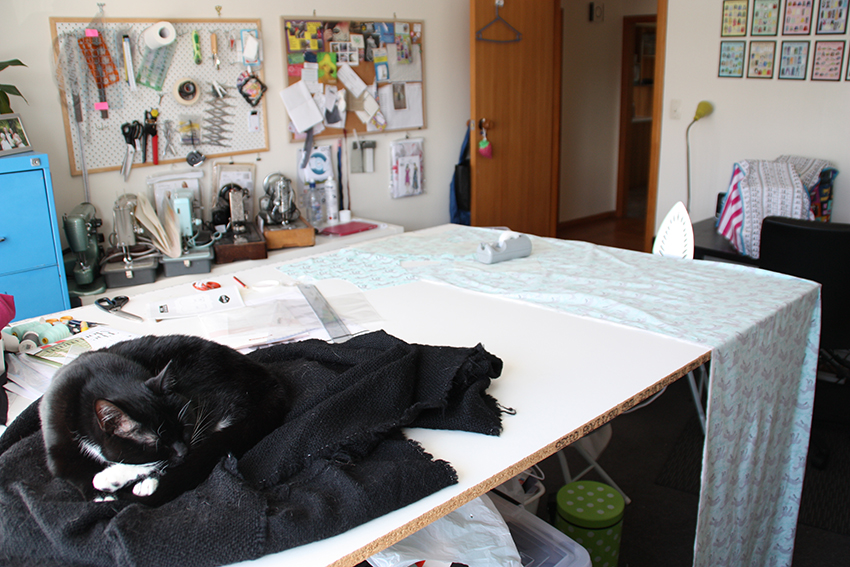
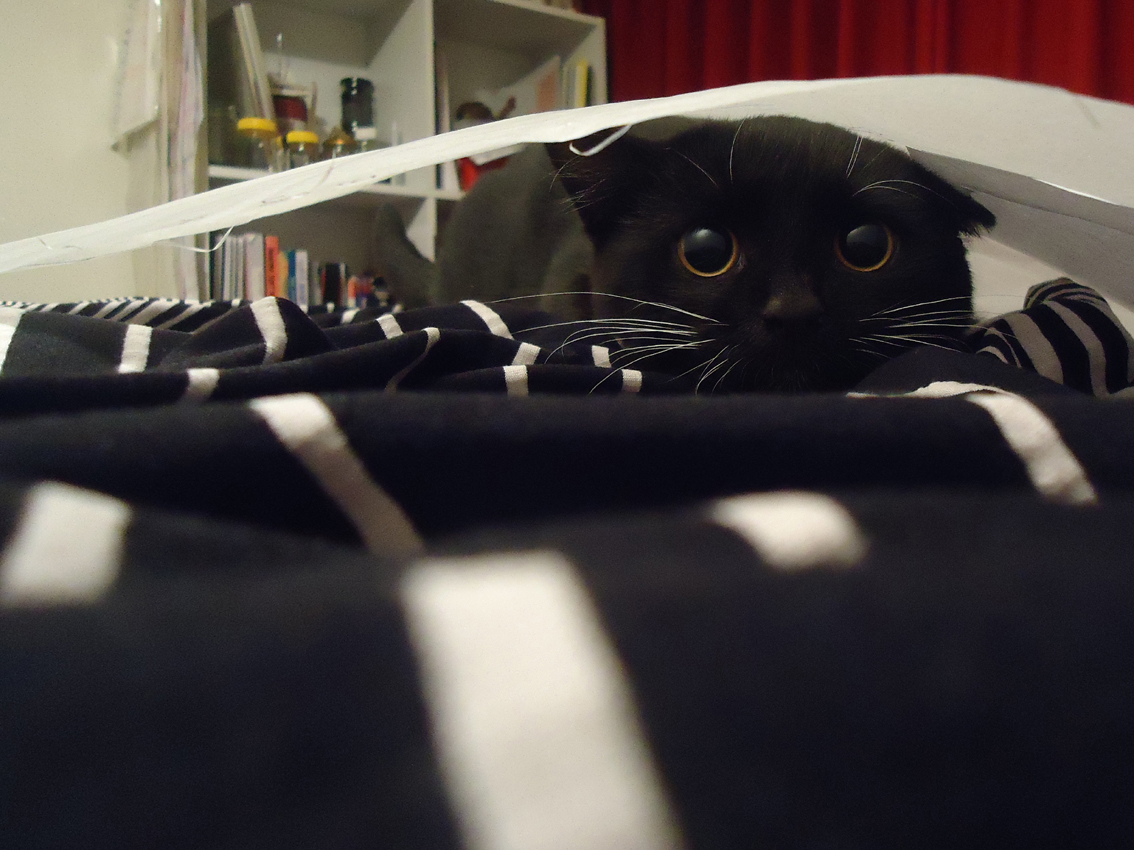
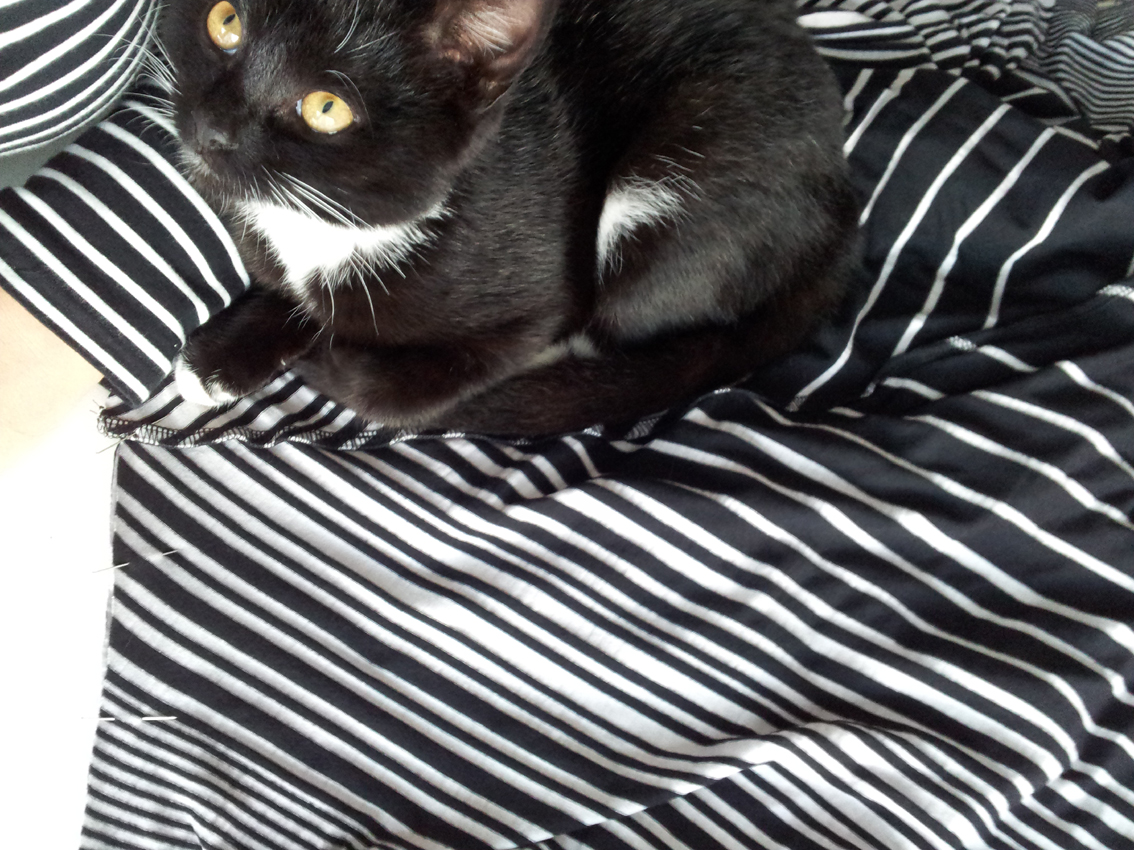
My furry sewing supervisor takes her role very seriously and has her own special spot in the sun on an off cut of wool from my Lady Grey.

My cutting table is a piece of 18mm pre-finished board and it is clamped to an old drafting table that I refuse to sell. It’s great because it’s huge but it also makes me stretch and move around my room. It is a tiny bit high so one day, probably quite soon, I will give up my drafting board and ask Nerdy Husband to weld me a proper frame at the right height.

I have the usual stash of fabric which I don’t think is that huge (?) and a few too many vintage machines that seem to multiply when I’m (read: Nerdy Husband) not looking.

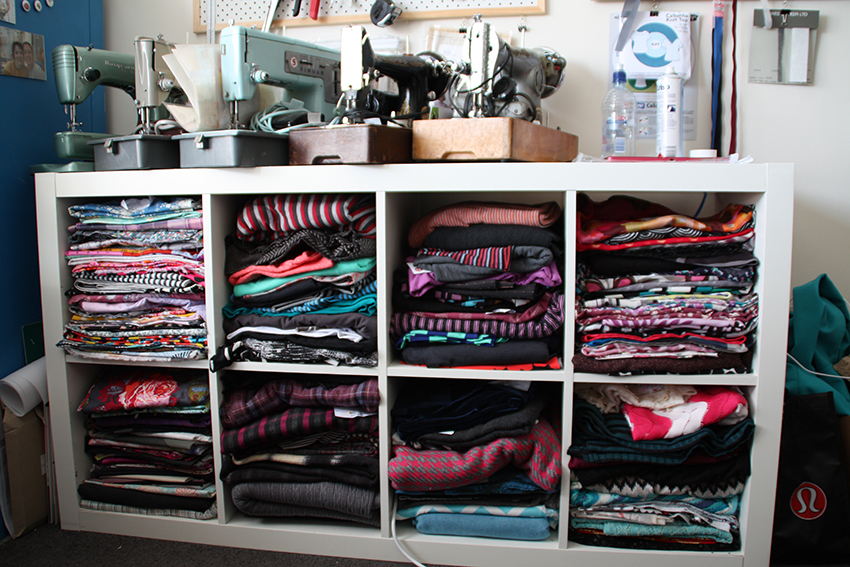
All my fabric used to fit in this Ikea Expedit unit but recently I have had to find additional storage space in the form of a plastic bin. It has clear sides that do little to hide the fact that I own more fabric than I need so I keep it mostly out of sight under the cutting table.

I love my stash so there isn’t any real guilt 😉

Good fabric is like good wine, it needs some maturing time, plus it’s not really my fault. During winter Wellington is cold and wool takes up a lot of space, so does sweat-shirting and who could have said no to those awesome foxes?!

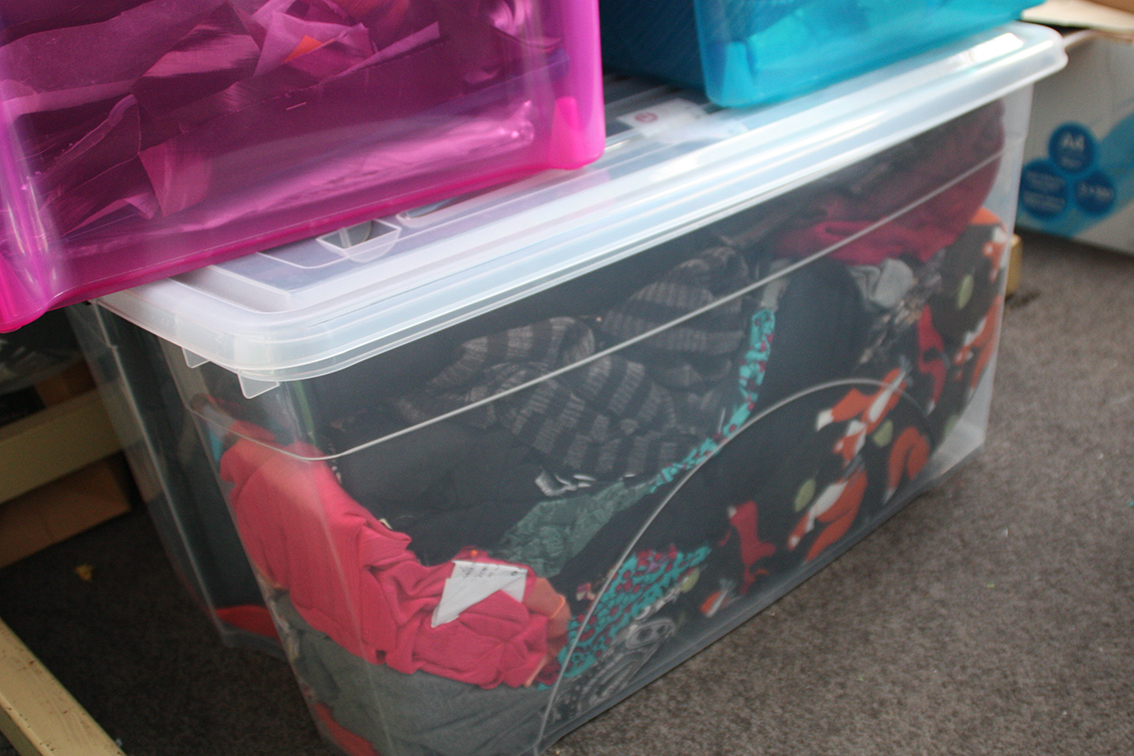
My linings and interfacings are also in a plastic bin under my cutting table but they don’t count as stash…there might some more wool “maturing” at the bottom of that bin too…

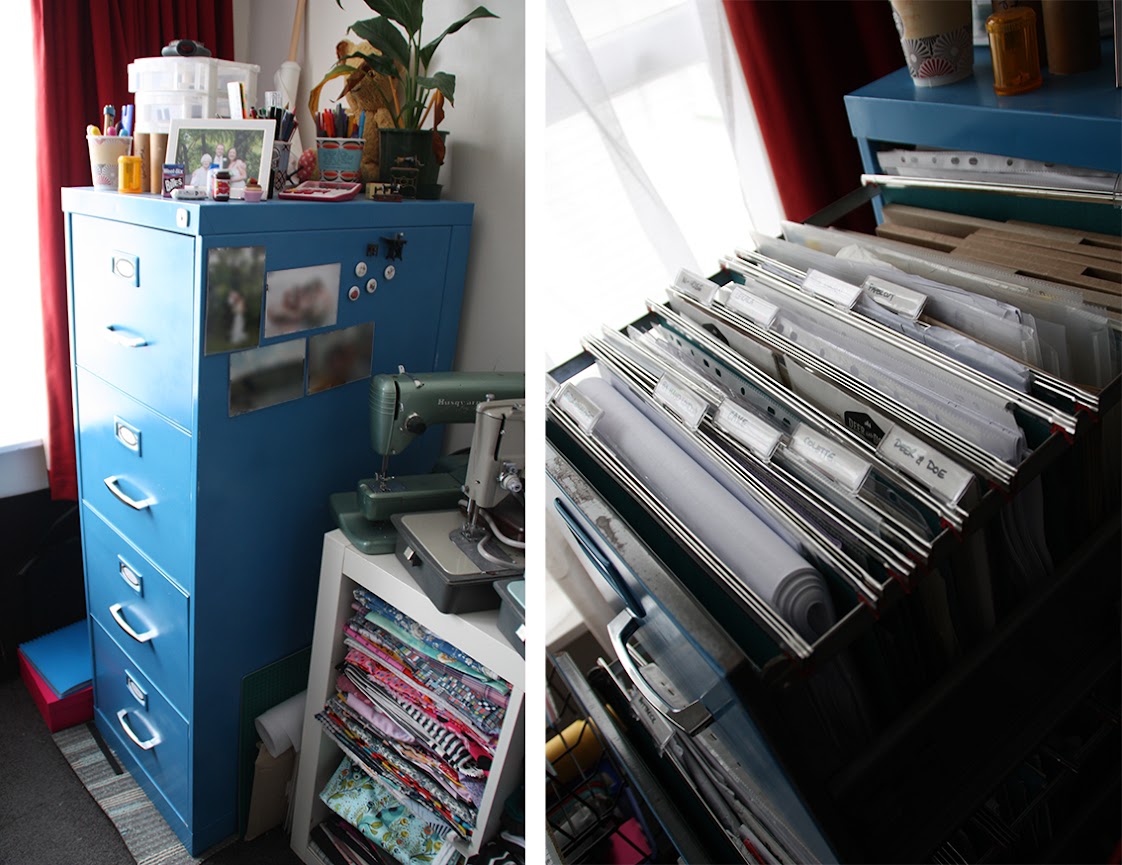
My patterns live in a filing cabinet. It was a great find at the Balcatta Transfer Station in Perth, a kind of recycling/dump-what-you-don’t-want rubbish place. It cost me $40 and it was originally a sad grey colour but several cans of spray paint fixed that. Indie patterns in the top, drawer Big Four next drawer down, magazine pattern inserts below that and drawer #4 is empty.

I sew on an Elna 2130 which is about 10 years old. I got it her on laybuy as a present to myself for getting through University, she’s such a little trooper and I can’t even begin to think about the day I have to think about replacing her.

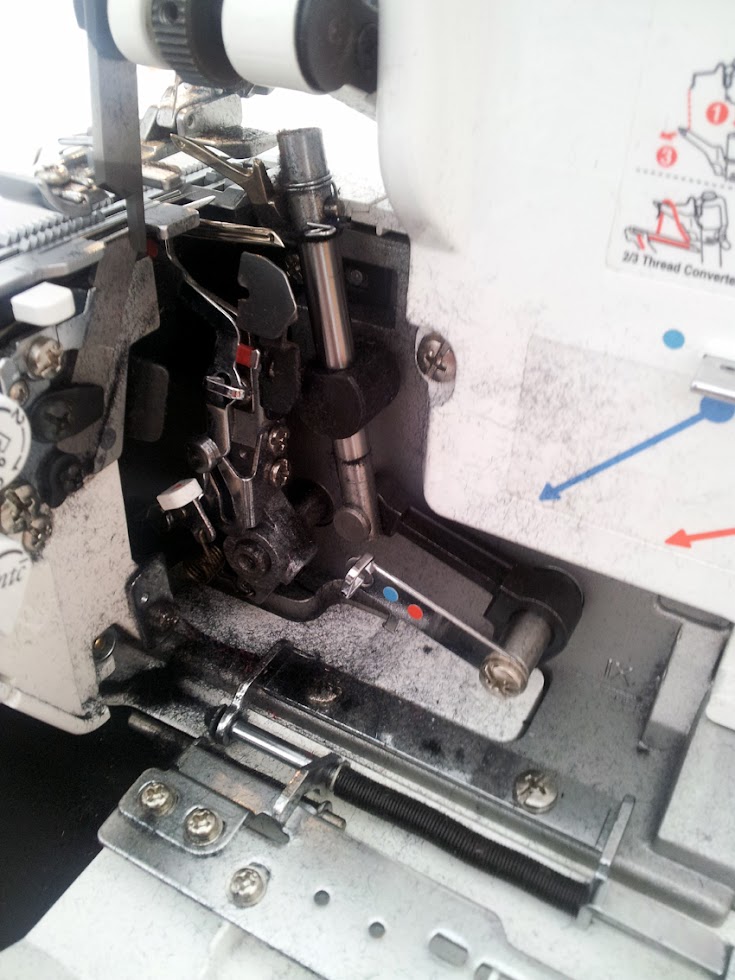
My overlocker is a Bernina 1150MDA and she is also amazing, almost as amazing as my newest (modern) machine, a Janome Coverpro 1000CPX Coverstitch, which you can read all about here.

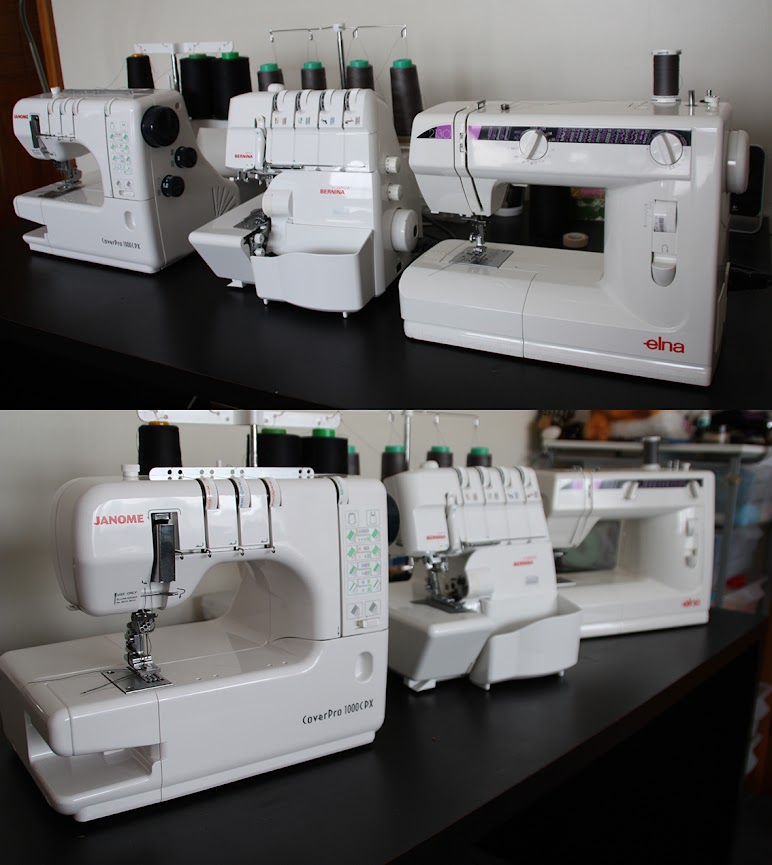
They don’t normally sit like this, usually I have the Elna and Bernina side by side with the Janome sitting behind and I swap them around as I need them.

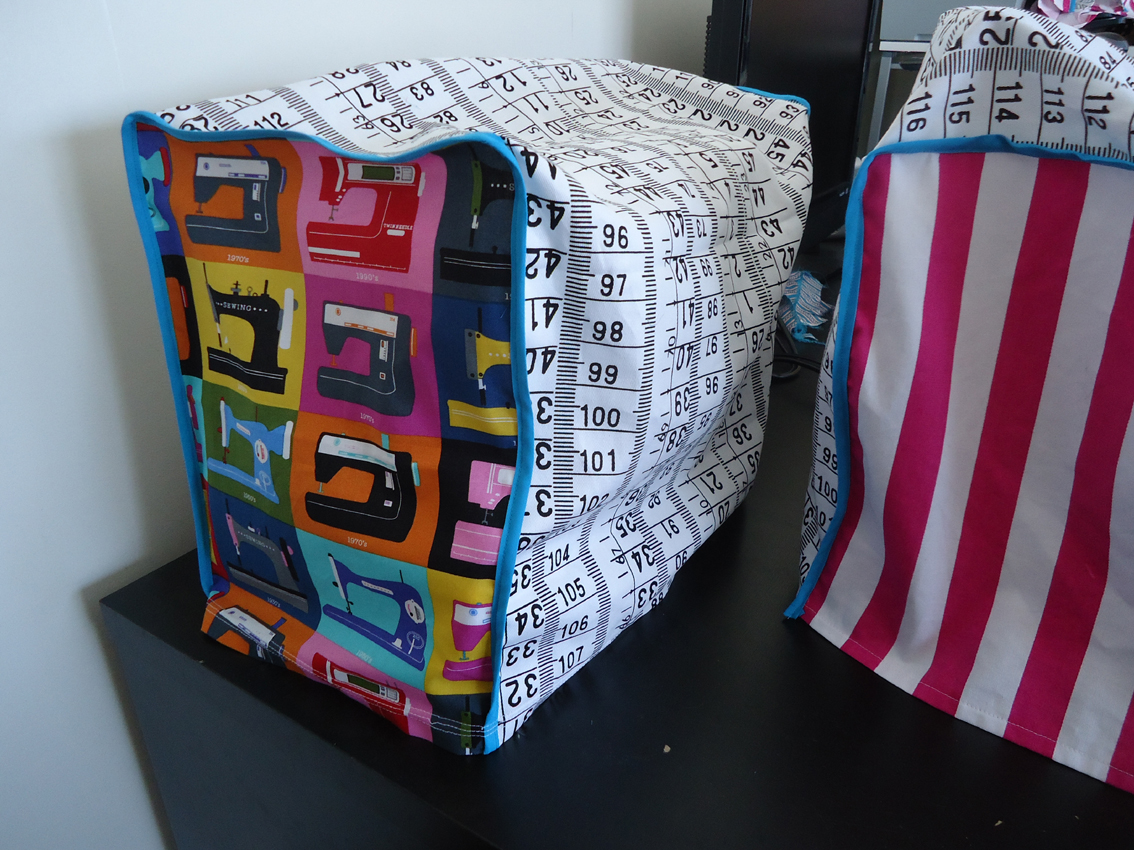
They all also have pretty covers that I made, not to keep dust off, there is not enough time between sewing sessions for any dust to settle! The covers are actually Invisibility Cloaks to keep them out of sight from a certain furry helper who likes to eat thread when Mumma-Cat isn’t at home.

I sew on a $99 table from Ikea. One day I had the brilliant idea to get Nerdy Husband to drill some holes in the top for the plug of my power cords to pop through. The table is too deep and the sewing machine feet were too far under due to the cord length.

TOP TIP: Don’t do this to an Ikea table, the inside is cardboard…oh well 😉 Also with the overlocker on full noise it kind of bounces around so one day I will upgrade.

I have a few things on the walls and part of me is still trying to get out of the renting mentality of not hanging things up for fear causing damage and losing our deposit but I own these walls now so I need to get myself sorted.

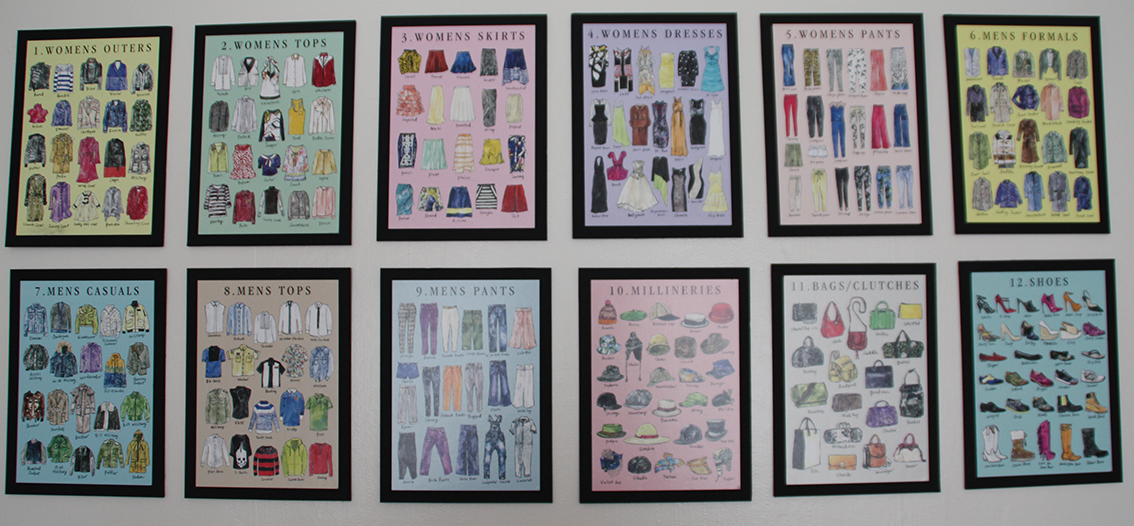
I love my Fashionary postcards by Vita Yang, I mounted them on black card to make them stand out.

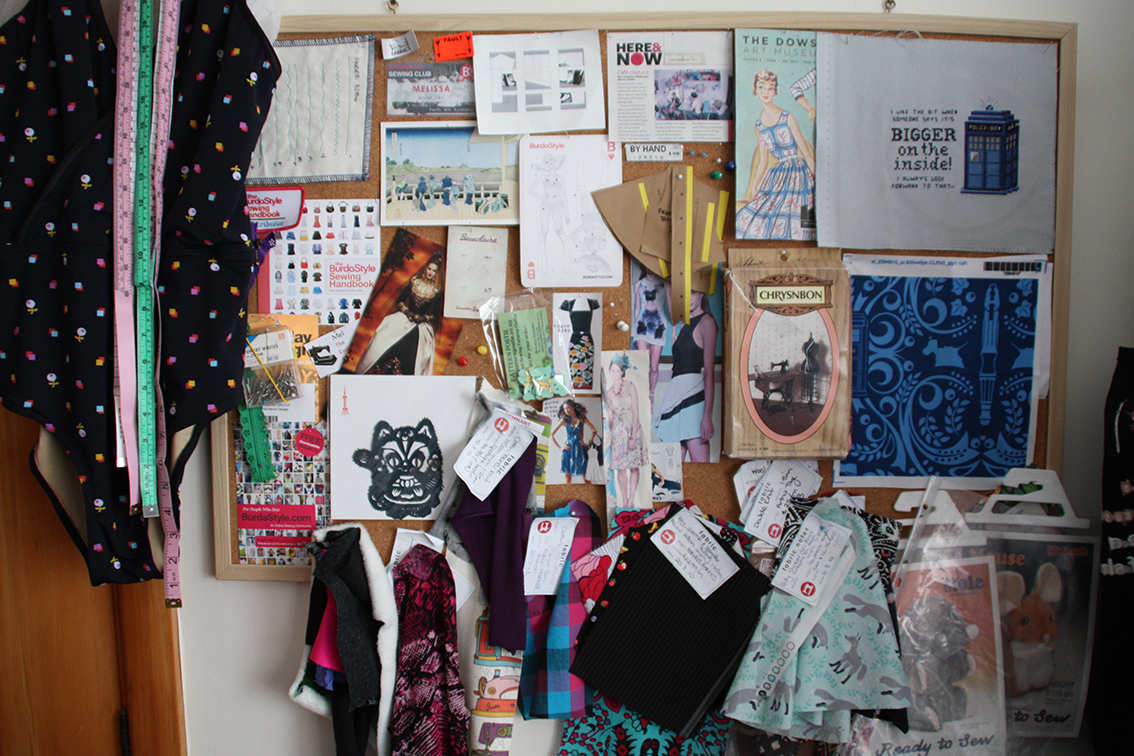
I also have 2 pin boards covered in heaps of stuff, important stuff 😉

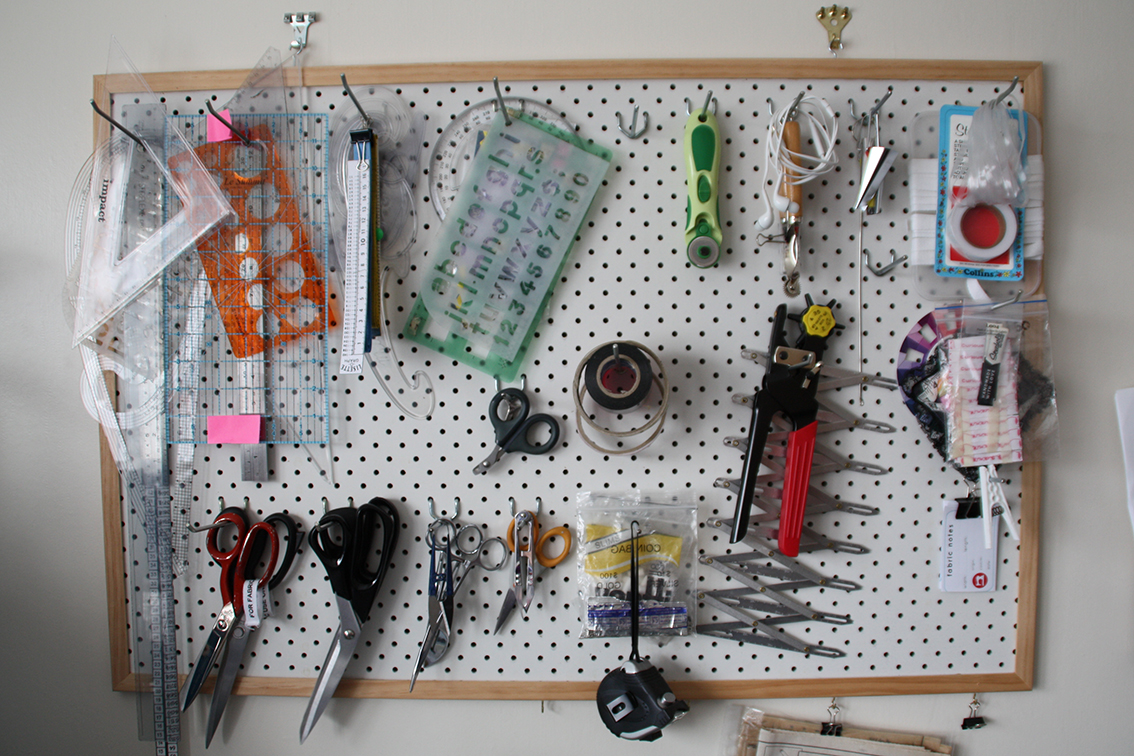
Recently I got this peg board and it is the BEST THING EVER! I have everything on hand, rulers, scissors, ALL THE THINGS! You should get one too.

Gemma also challenged us to show off our favourite make and our current work in progress.

My favourite make is my Le Wise La Sylphide. I always get comments when I wear it and I feel so pretty and girly, plus who doesn’t like owls?!

I am always working on more than one thing, usually three, or four, or eight…it’s how I like to work so I don’t fight it 😉

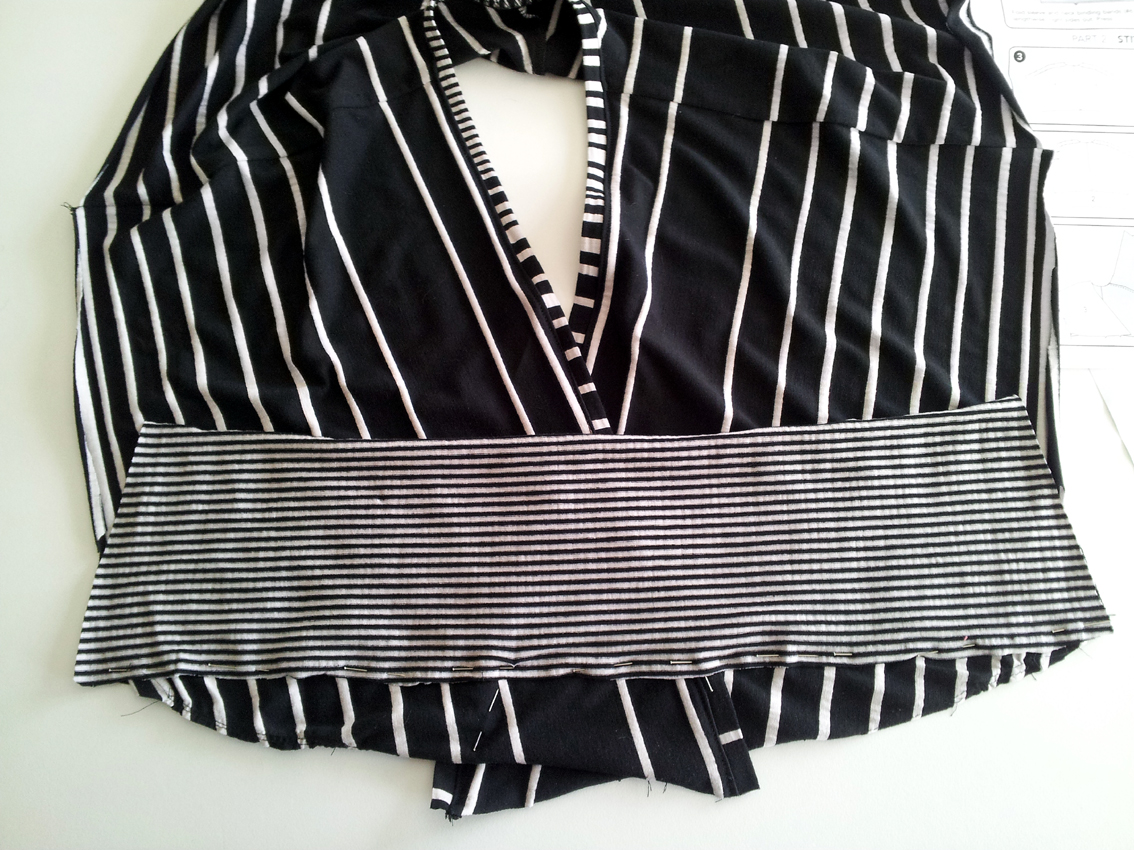
Right now I need to finish my Miss Bossy Patterns challenge from The Monthly Stitch. This month is Amnesty Month so the perfect time to catch up.

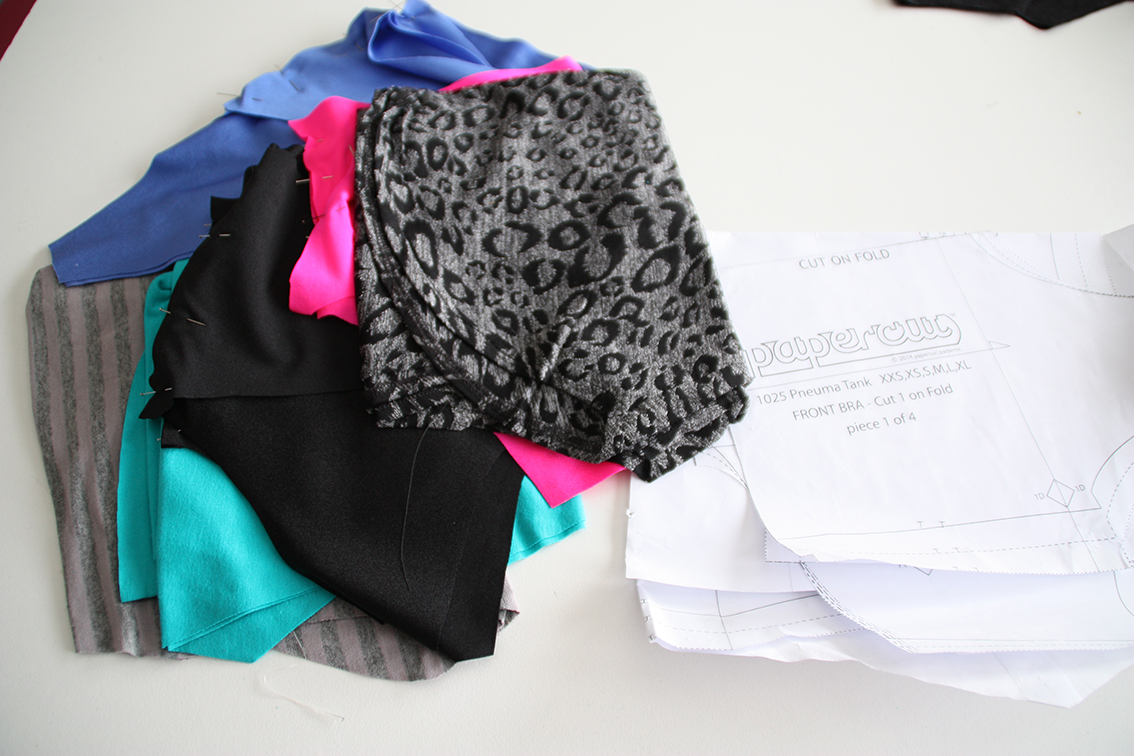
I’m also in the middle of 3 more Papercut Pneuma tanks, I love the colours:

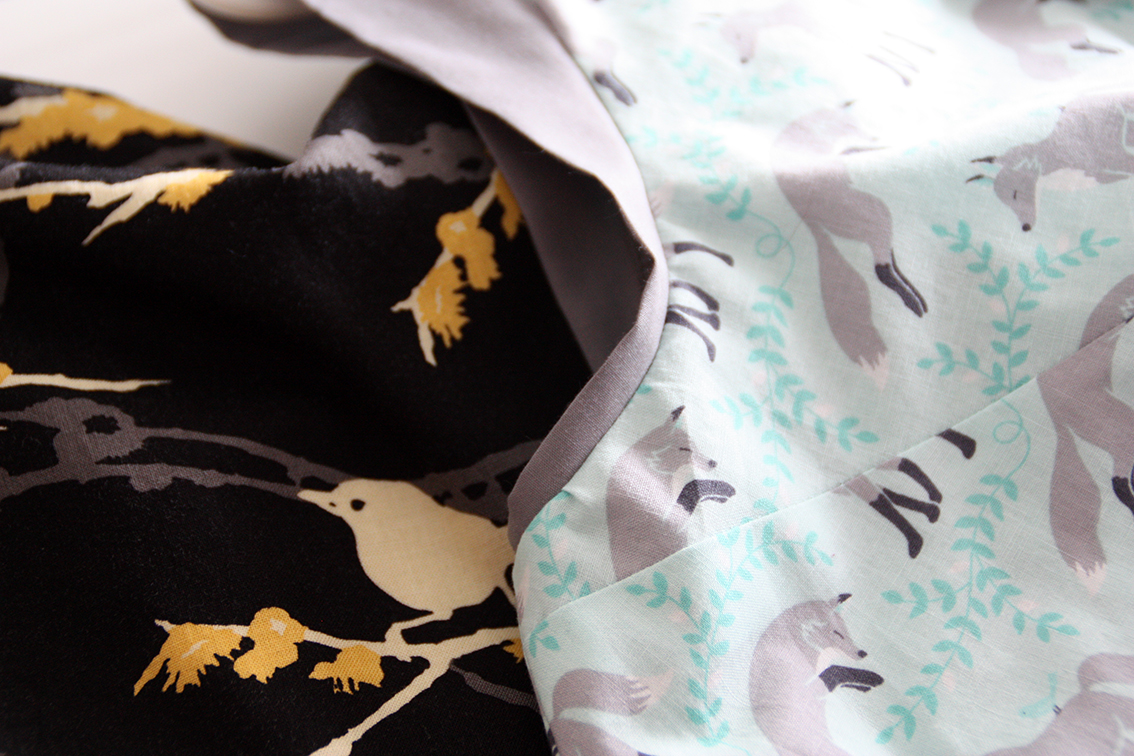
And I just finished two top secret projects that will be revealed next month 😉 but here is a sneak peek:

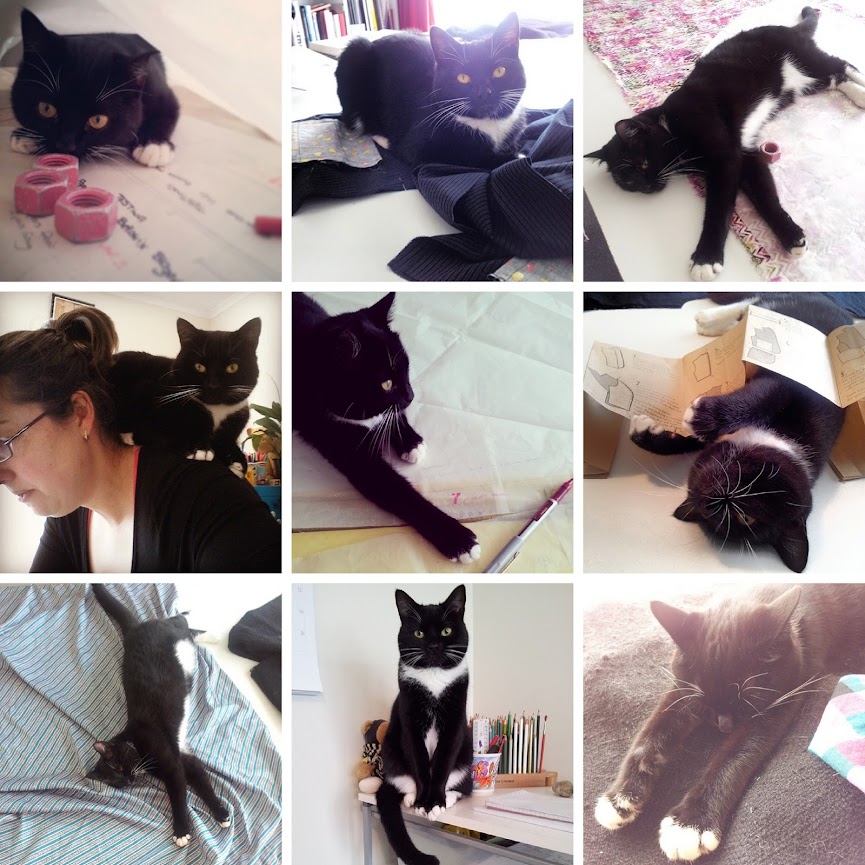
Now I think you’ll agree, there is only one proper way to finish this post: with a furry sewing helper montage 😉

PS: Tomorrow is Zara’s turn and you can check out the blog list of the entire WSBN here.

PPS: Also you should totally go and check out the new indie pattern company, Muse. It’s the creation of one of our amazing WSBN girls, Kat. Her first pattern is the vintage inspired Jenna cardi (that I really have to hurry up and get under the overlocker) you can buy it as a pdf download so go take a look!

PPPS: Oh, oh, and come join us over on The Monthly Stitch next month for FROCKTOBER, everything you need to know is here.

Oh dear, oh dear, oh dear…oh deer!

The WSBN are great at scheming!

Our most recent collaborative idea was to sew a garment from one pattern brand. Votes were cast and Deer & Doe won…and then the four of us who participated all managed to sew the same pattern, the Bleuet dress!

We have graduated from Twinsies to Quadruplets!

So where do four sewists go for photographs when they are all wearing the same dress by a pattern company called Deer & Doe?

Duh, they go to Staglands of course, because with a name like that there MUST some deer there, right?

RIGHT!

But first we ate, because not only are we excellent at scheming and sewing (and sewing scheming) we are also good at eating!

So we picnicked:

You may notice we also included significant others, both large and small, for this outing.

Wellington put on a beautiful day so after our picnic we wandered, looking at the animals, chatting and photographing as we went.

The Bleuet Quadruplets:

Nikki, Kat, Me and Jenna

Apart from the odd sneak peek this was the first time I’d seen all the dresses complete and together. I really love that we each put our personal style twist to it and while it’s clear we all used the same pattern we all ended up with a unique dress.

Sewing is awesome, yes it is!

Near one of the picnic areas a lady complimented our dresses and was brave enough to ask, “Why are you all wearing the same dress?” so I quickly explained that we were part of a sewing group and that this particular dress was from a pattern company called Deer & Doe so we were hoping to have photos with deer (we hadn’t actually seen any deer at that point).

She seemed very impressed and that was when I realised we are not normal but it made me happy in a weird sort of way 🙂

Me, Kat, Jenna and Nikki

I saw this check print while on a sneaky fabric shopping mission with Nikki. She picked it up first and I was going to get some cut from it after her but there wasn’t enough left on the bolt. I figured it wasn’t meant to be, then Enabler Nikki texted me one weekend not long after to say she’d seen another bolt of it. I couldn’t get to the shop but put out a cry for help on the WSBN Facebook page and MaryLousie came to my rescue – sewing friends are the best!

I channelled my inner Ladybird and cut the side panels on the bias, then I chopped off the self button placket and cut that on the bias too.

You may have noticed I have an extra panel on the back of my dress, just below the collar.

This is, err…a bonus design feature.

Ok, maybe I had a little boo boo.

While trying this dress on I got my arm stuck one of the arm holes and heard a terrible ripping sound! At first I couldn’t find any damage so I assumed it was just some basting stitches ripping out. I carried on sewing…and then I saw it!

NooOOoooOOOoooo!

I was really mad at myself for about 30 seconds. Then I sat down at my machine and zig zagged the rip together. After staring at it a little longer I realised I had to patch it. I am sure I’ve seen patches on the back of shirts so I drew a semi-circle on the back bodice piece that would cover the rip and cut it on the bias for interest.

I top stitched it in place and it went unnoticed for about half the day until Nikki spotted it 😉

After solving that little problem I needed some stress relief – for the first item ever, and inspired by Kat, I decided to try snap fasteners instead of buttons.

I bought 12 pearl snaps and took out my frustration installing them.

Sewing with a hammer is fun!

We found the deer eventually and I’m glad we remember to buy food at the entrance!

Check out this guys antlers, so soft but also mean looking 😉

The pattern:

This was my first Deer & Doe pattern, but I own 5 of them in total. The pattern comes in a cute envelope and is printed on nice sturdy paper – a dream to work with compared to some of the thin tissue I’ve been tracing from lately.

You get two instruction booklets, one in French, one in English and I was a little disappointed to see that they are mostly text with very few diagrams. This did not stop me getting through the project but for someone who has not made a shirt or shirt dress before it could slow them down.

I felt there were a few gaps in the instructions, I couldn’t find any mention of stitching the shoulder seams and no guidance of which side to top stitch your panels. I also felt the collar is constructed in a very strange way so I decided to sew mine in a more traditional way that I have done before because the Deer & Doe instructions wouldn’t work in my head.

I found the sleeve cuffs a bit strange to construct too. After interfacing you fold them in on themselves so that you end up with 4 layers of fabric plus interfacing that you then have to sandwich onto the gathered bottom of the sleeve. It’s not easy and if you are using a thicker fabric I suggest you cut the sleeve cuff in half and attach it a different way.

This pattern cost me NZD$22.00 so I guess I just expected a little bit more love in the instructions. It is labelled an intermediate pattern but I feel that an advanced beginner could tackle this with a bit more guidance, or while consulting a general sewing book.

The draft is good, all my pieces lined up and it sews up quite quickly. The princess seams give you lots of fitting adjustment and I think the bow at the back adds a cute detail. I also I like how it is constructed.

I was a bit worried the puffy sleeves would be cute overload but after basting them on I decided to leave them. NH thought they looked OK plus I wore this dress to work last week and no one laughed at me 😉

Staglands:

I was pleasantly surprised by Staglands. I am Wellingtonian born and bred so I assumed I must have been there at some point in my life but apparently not. It was completely new to me and I really enjoyed myself!

The park is huge and from Wellington CBD it’s a good hour by car through the amazing Akatarawa Valley road. Leave home early because you really do need an entire day to enjoy the whole park.

Anywhere that has baby bunnies roaming around will get a glowing review from me!

I (and when I say I, I mean Nerdy Husband) took heaps and HEAPS of photos, over 400, a lot of which didn’t come out. This is bad, but also good, because now I am motivated to finally replace my faulty camera lens…and maybe try to get a deal on a macro for detail shots too 😉 So I have a few more photos, lots of animals and some funny out-takes, and rather than bombard you with more photos here you can click through to my Flikr album to see the rest 🙂

THE DEETS:

Pattern – Deer and Doe Bleuet Dress, straight size 42

Fabric – Cotton check from The Fabric Warehouse, Kaiwharawhara, $10/m

Other notions – 12 x pearl snaps

The one in which we eat some cake…while wearing some Cake…but not like that…

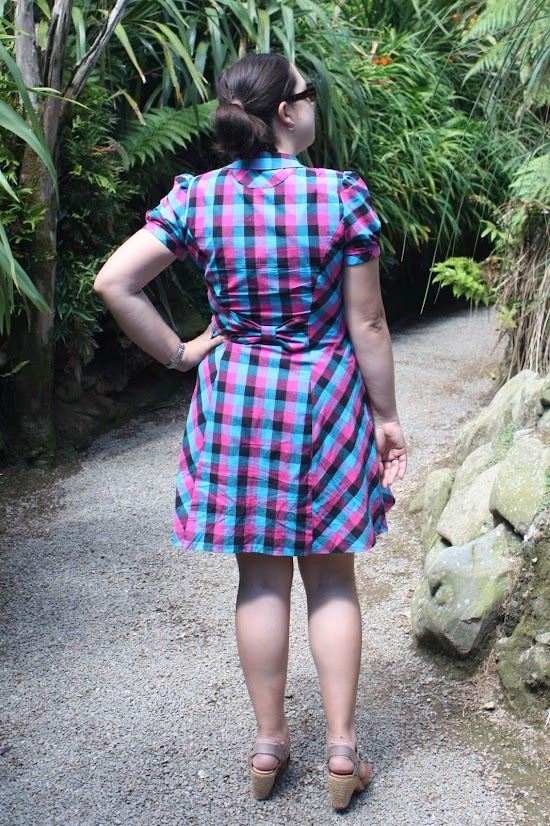
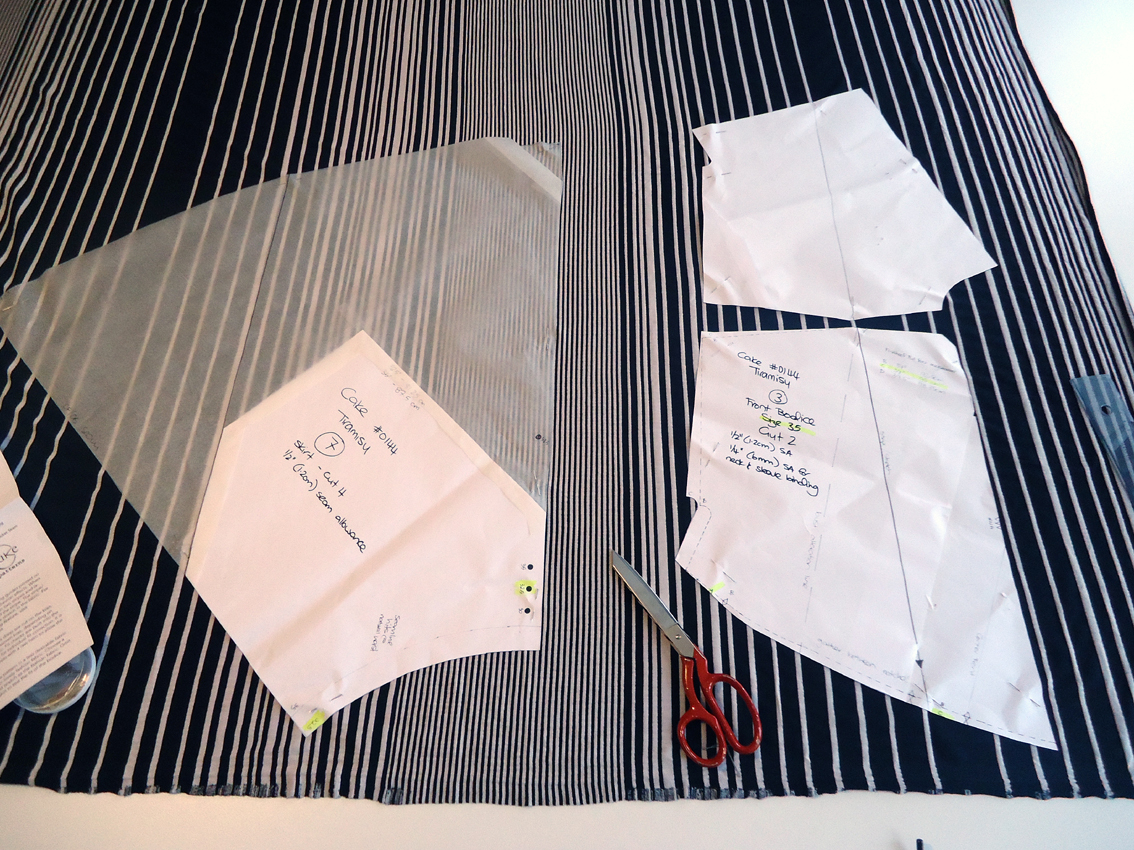
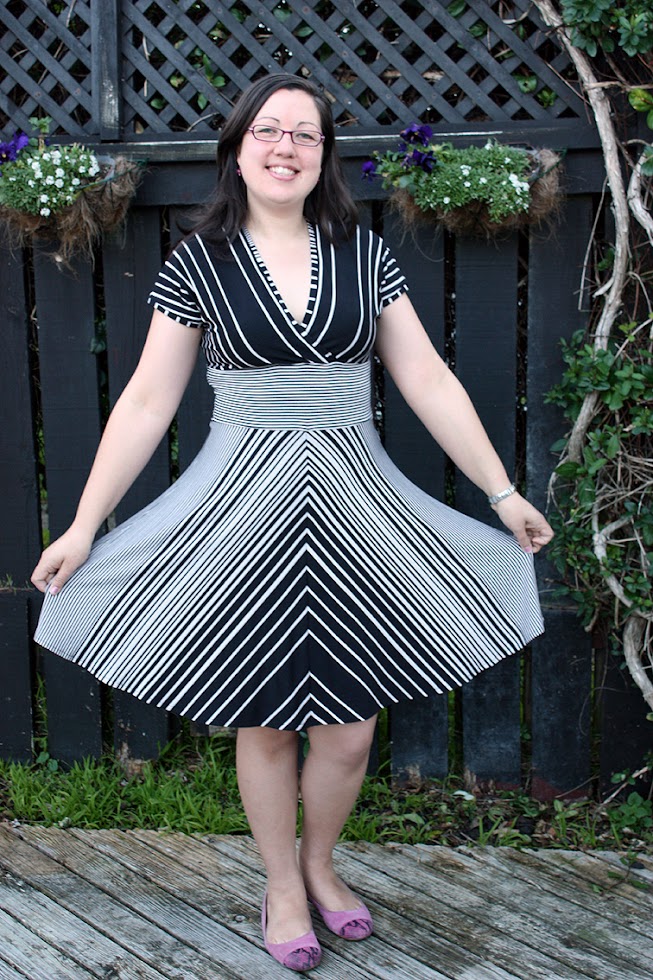
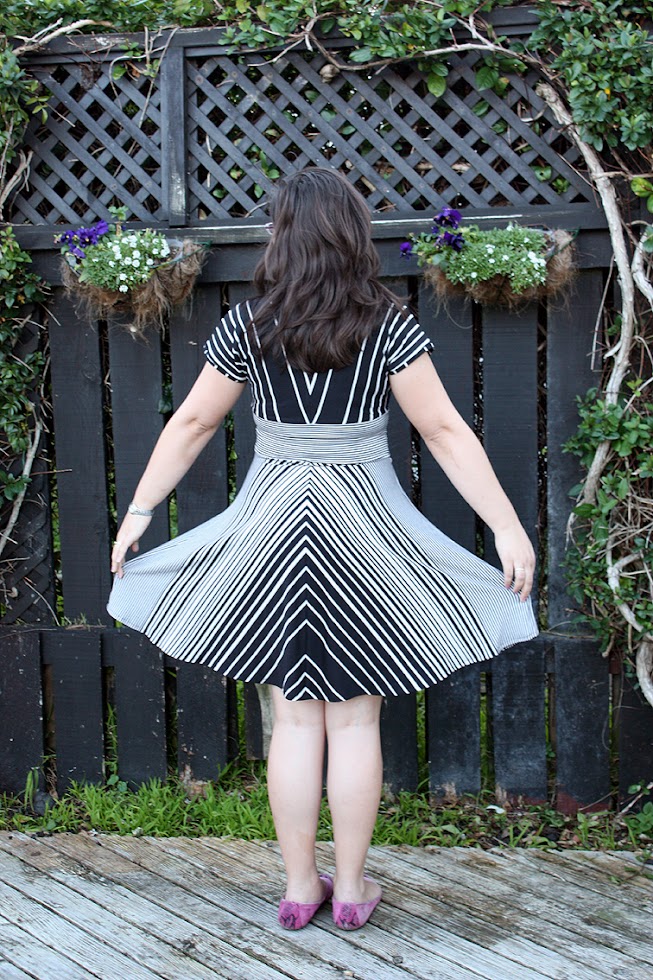
I’m going to start off this post by saying that my Tiramisu dress and I are friends now…we weren’t during the construction, there was some grumpy sewing…in fact I was grumpy at this dress before I even started it which probably didn’t help but we’ll get to that.

What is important is that we are friends now, I am even wearing it today, at work, here is your evidence:

As you can see I went with the black and white ($2.00/meter) flavoured fabric. It was a hard decision, you guys actually liked the Phony Missoni the most:

What began the grumpiness was the fact that the bodice sizing seems to be crazy. When I started tracing the patterns I loved the idea of grading between the circle and the triangle to combine different sizes for bodice and skirt and I initially liked the idea that the bodice was sized by cup size.

Great! I’ve done this before, with a Simplicity Project Runway pattern, it worked out perfectly.

However it turns out that the “cup” sizing for Cake patterns does not relate in any way to your bra “cup” size. So I was stumped on what size to cut and became even more confused when I heard how much trouble some of the other girls were having selecting their size.

Let’s talk about some measurements, I’m not embarrassed to share. My high bust is 97cm and my full bust is 103cm, I wear a 14D bra. Since the instructions suggest going down a size if you want a snug fit I decided to cut the 35 bodice and since everyone seemed to be finding the bodice cups oversized I cut the C cup. The size chart said this would suit a 95cm bust so I was hoping this would be correct and achieve a more fitted look. I also cut the 35 midriff and graded to the 32.5 sized skirt.

I had to be extra careful cutting this fabric out, the stripes are not symmetrical so I had to think really carefully for each skirt piece so I’d end up with correctly mirrored pieces! 🙂 To help with this I traced several of the stripes onto my butter paper to help line everything up.

Harri helped too, her new “thing” is burrowing.

I stitched the entire dress on my overlocker using 4-threads, AFTER I cleaned out all the Lady Grey fluff babies!

Everything went really quick and smooth. I didn’t have any fusible stay tape for the shoulder seams so I used my sew-in stay tape and caught it with the overlocker. The only problem I found at first was that my back midriff was larger that my back bodice by 1cm each side. There was a brief moment of panic when I check the paper pieces and wondered if was supposed to have added seam allowance instead of assuming it was included but a couple of quick messages with the WSBN and it was all ok. I decided I would  just overlock that off when I joined the side seams.

When I got to try on my bodice it fitted great across the back but the cup area was HUGE! My girlies looked super saggy and non-existent and I definitely failed the bend-over-forwards-to-see-if-anything-falls-out test. The only way I could think to fix it was to unpick the midriff band and then I stood in the mirror with some pins and modified the overlap and the attachment to the band. I ended up pulling the front overlaps down below the band.

This photo above is of the band pinned in place, right sides together. You can see how much the bodice pieces stick out past the stitching line. Now that the dress is finished I think I should have overlapped them a little bit more and pulled them down at least another centimetre as the weight of the skirt didn’t help with any further fitting. My cleavage is just covered but for work I really need to wear this dress with a singlet.

Once I was happy with the bodice the rest of the dress went together so easily. I was careful to place a pin at each stripe intersection in the skirt, I really REALLY wanted perfect stripe placement. It was an intense few sewing minutes, I kept stopping to check the underside, to make sure it hadn’t slipped!

I needed a break after that and when I came back I found this:

I  think Harri was trying to tell me something about this dress, she approves…or perhaps she was just making sure the white got some black fur on it…and it’s only fair that the black gets a little bit of white 😉

I made a few more final fitting adjustments. I took the waist in by a huge 4cm each side and lopped 7cm off the bottom, then I turned up 1.5cm and top stitched my hem down. Hem length is a personal choice but I wonder if some of the fitting issues are due to different amounts of stretch between fabrics, there is no stretch gauge with this pattern but taking it in was really easy, I just didn’t expect by that much.

The final result? I actually really like this dress now and I am contemplating another one. Excluding the bodice issues (who likes unpicking 4-thread overlocker stitch?!) and my extra careful cutting out it was a really fast make.

My only problem now is I have no idea what size I should have cut! I really don’t understand why the bodice is sized with something as universally known as a “cup” but then not be related to that familiar concept at all.

I think the 35 was the right bodice size so do I cut the A cup next time? Or do I go down to the 30 but still cut a C or a D?

I have no idea, when I work it out, I’ll let you know.

Ok, enough grumpiness, enough words, I’m past it, it’s all fixed now, let’s look at some cake and some Cake, there was a lot of both!

Prepare for a bombardment of photos:

If there is one thing the Wellington Sewing Bloggers know how to do (besides sew and blog) it’s make food!

Lots and lots of food

And then more food!

Would you like to see some other Cake now?

So many talented ladies! (Photo thanks to Sandra M)

Back row, left to right: Nicola, MaryLouise, Sandra M, Zara (new member, yay!), Myself, Emma, Johanna, Joy, Holly, MaryAnne and Sandra J (new member, yay!)

Front row, left to right: Nikki, Wendy and Gemma (new member, yay!)

And here are just the Tiramisu girls:

Myself, NikkiNicola and Johanna (Photo thanks to Sandra M)

There will be lots of other group shots popping up on the other blogs in the next day or two so please take a look.

Here are a few more of my Tiramisu, thank you to Nikki and others for whealding my big-girls camera.

Check out that stripe matching…

…front and back!

Myself and Holly (in her fabulously reversible Cabarita) doing the black and white thing

Bodice close up with cake

YUM!

Now how about some Cake with cake? And what better cake than a delicious Tiramisu made by one of our new members Sandra J? This lady knows how to make friends!

Tiramisu with your Tiramisu?

As per usual we had an amazing afternoon chatting about sewing, eating cake in our Cake and laughing far too much. It was so nice to meet three new girls in our group.

So, did you attend a Cake Day or take the suggestion to sew and eat some C/cake? Please share your post with me and photos, we’d love to see your Cake with cake 😉

I’ll leave you with our “duck face” out-take:

“Everyone do a duck face!” (Photo thanks to Sandra M)

footer_kiwi-kitten-follows

Ohh Cake, mmm cake!

This post will be quick because SandraJo and Maryanne have already done an excellent job of explaining the ‘Cake Day’ plan.

The WSBN discuss many things and come up with lots of great ideas, like this, and this.

I can’t even remember when or how this one originated but a mass online pattern order was made and now this July we’re all going to sew a pattern from the Cake line up.

At the end of the month we will crash Sandra’s for a BYO high tea where we will all wear our Cake and eat cake.

Could this plan be any more awesome?

Well I’m glad you asked because yes, yes it can. We inviting the internet to join us!

Got a Cake pattern in in your stash? Already made yourself some Cake? Or just have a super pretty dress that you need an excuse to wear?

Find some other local sewing peeps, or go stag, have some yummy cake and take a photo of you with your cake, in your Cake (or pretty dress).

It’s all happening on July 28th, come join us!

It’s going to be like a mass online party, with lots of Cake and cake. Please post plenty of photographic evidence of your “Cake Day” and have heaps of fun 🙂

I have the Tiramisu and Cabarita to choose from, plus plenty of appropriate fabric in my stash, it’s going to be so hard to decide which pattern and in which fabric!

footer_kiwi with needle1